

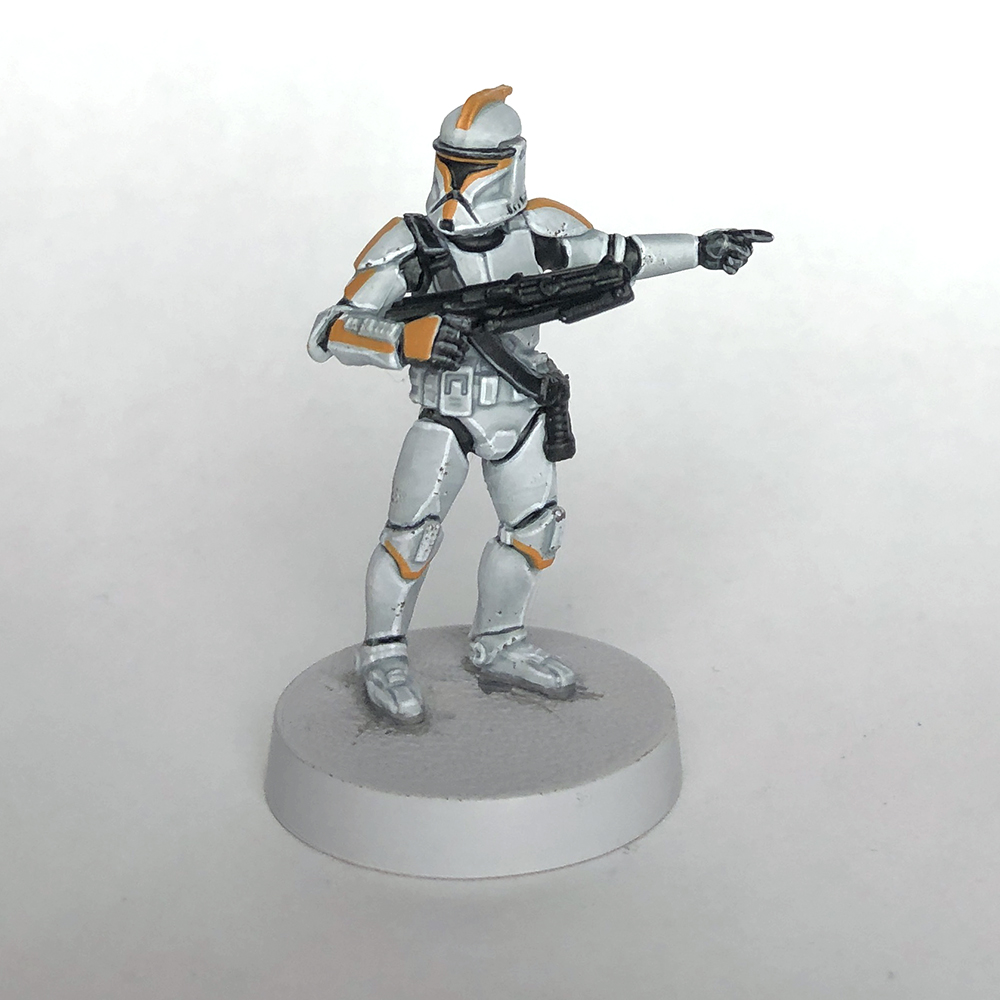
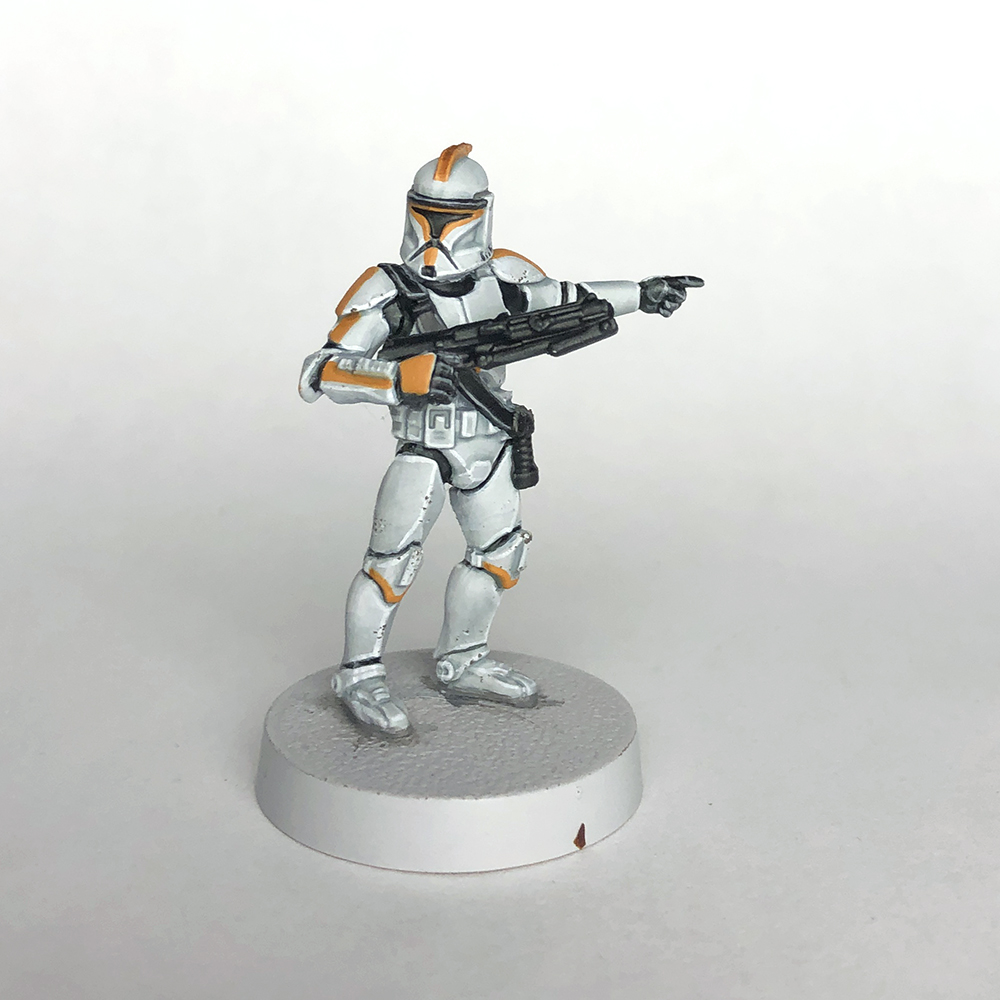
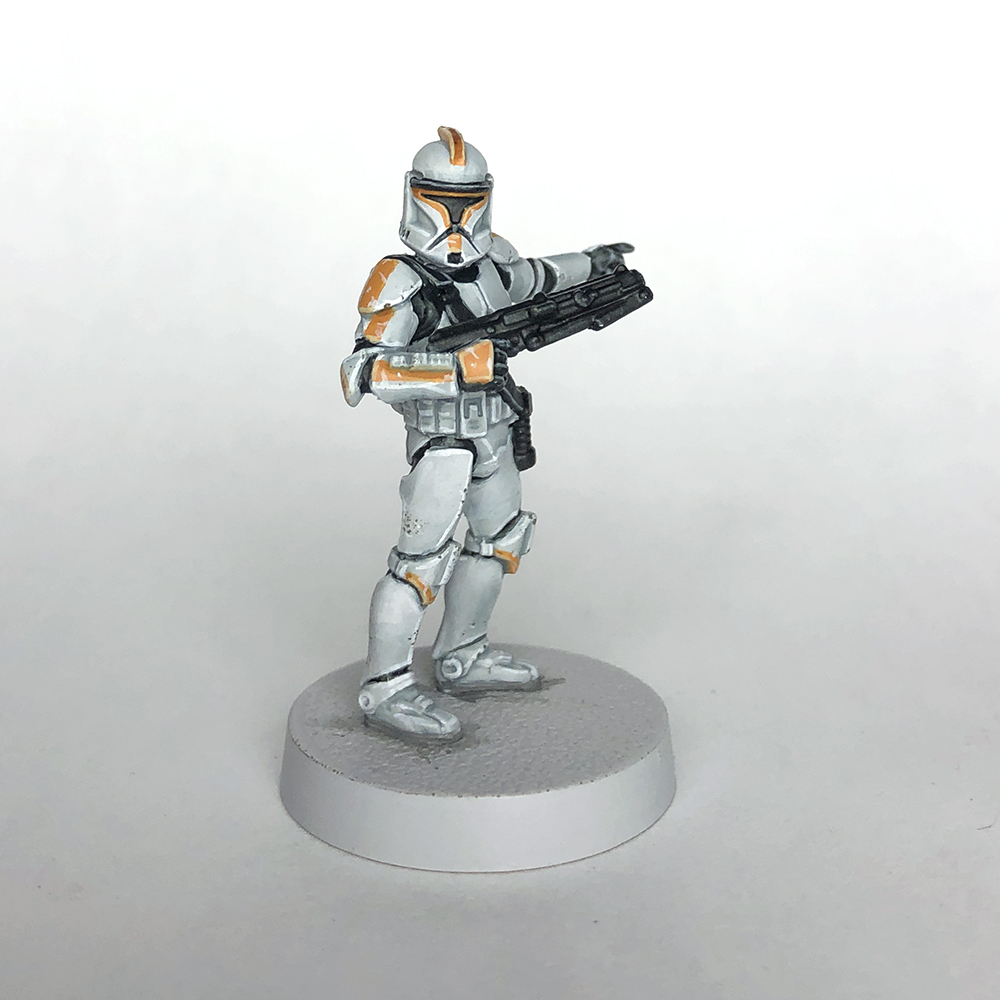
I've always been a huge Star Wars fan and I've been thinking about jumping into Star Wars Legion for awhile now. After getting the Clone Wars starter set over the holidays I started painting up my own Grand Army of the Republic. The clone troopers are just so cool, especially if you've seen the Clone Wars TV show, and luckily they're also extremely easy and quick to paint!

Step 1.
To start with I primed all of the models with Corax White. You want to make sure you have a nice even coat of this.

Step 2.
This was followed with an all over wash of the Apothecary White contrast paint. Make sure this doesn't pool in any weird spots. I kept an eye on them and used a spare brush to either soak up or move around any weird blobs before it got too dry.

Step 3.
I then went back with Corax White and tidied up a bit. I thinned it down and used it as a glaze on some of the flatter areas, like the shoulder pads, the top of the helmet, and the top of the thighs. By having the paint thinned I'm able to smooth out the area while also letting some of the Apothecary White color to show through, even on the flat areas. Make sure you leave the recesses untouched. If you need to touch up any recesses with Apothecary White you can do so now as well.

Step 4.
Using Black Templar I base coated all of the black areas. This took 2 - 3 coats in part since it's a contrast paint. I like to use Black Templar because it flows better, which is particularly good for painting the areas between the armor. You want to be as tidy as you can, but if you accidentally get any black on the armor just go back with some Corax White and tidy up.

Step 5.
Next, I highlighted the black with Dawnstone. On most models this will just be the rim across the top of the helmet, and the gloves. The leader model also has the strap on his electrobinoculars Just pick out the edges with this color. I also painted the areas on the helmet that are grey at this point, as well as the soles of the boots.

Step 6.
This was finished up with a more refined highlight of Grey Seer. On models where you can see the bottom of their feet I did a quick wash of Nuln Oil on the bottom of the sole and then highlighted with Grey Seer.

Step 7.
All of the white armor is then edge highlighted with white. I used Vallejo White on this model, but you can use any white you want, like White Scar by GW.

Step 8.
For the weathering on the armor I used a little piece of foam, either from a blister pack or a piece of pluck foam from a case, and dabbed it in some Stormvermin Grey. I then dabbed it a bit on some paper towel to make sure it wasn't overloaded, and then lightly dabbed it on the model in areas that make sense for wear and tear. This is mostly near the edges of armor, knees, elbows, etc. Less is more here. You can always go back and add more if you want. You can also add a little highlight of white on the bottom of some of these marks to make it seem like the light is catching the edge of the paint chip.
Step 9.
I decided I wanted to do some colored markings on my clone to make him a member of the 212th Attack Battalion, but if you don't want to, then you can skip the next 4 steps. For the orange of the 212th I used Tau Light Ochre. I painted this on using pictures I found for Phase 1 markings as a guide, which meant stripes down the arms, along the edges of the visor, and on his crest. This may take two coats. You can also swap these colors out for blue for the 501st, or any other colors you want.
Step 10.
To shade the markings I used Seraphim Sepia. I only painted this into any crevices, which aren't many. This included the middle of the helmet crest, where the upper arm armor meets the shoulder pad (if the stripe ends up going underneath the shoulder pad), and along the spot on the right arm where they have their little forearm buttons. I did not do this along the top of the visor beneath the black line, because it's such a small area and I wanted the Tau Light Ochre to be the main color.

Step 11.
Any edges on these marking were then highlighted with Ushabti Bone. I only did this where the markings touched the edge of an armor piece, not along the edges of the marking itself like on the arm.
Step 12.
To add a bit of weathering I took some Corax White and painted little chips and scratches on the markings. Again, less is more here.

Step 13.
Finally, we have the guns and any other similar things like the electrobinoculars. First, touch these up with Black Templar if you need to. I then lightly drybrushed Leadbelcher onto these, followed by an even lighter and more refined highlight of Stormhost Silver. With the Stormhost Silver really only hit the end of the barrel and any other extreme edges. If the gun ends up looking too bright after the drybrushes you can knock it back a level with a quick wash of Nuln Oil.
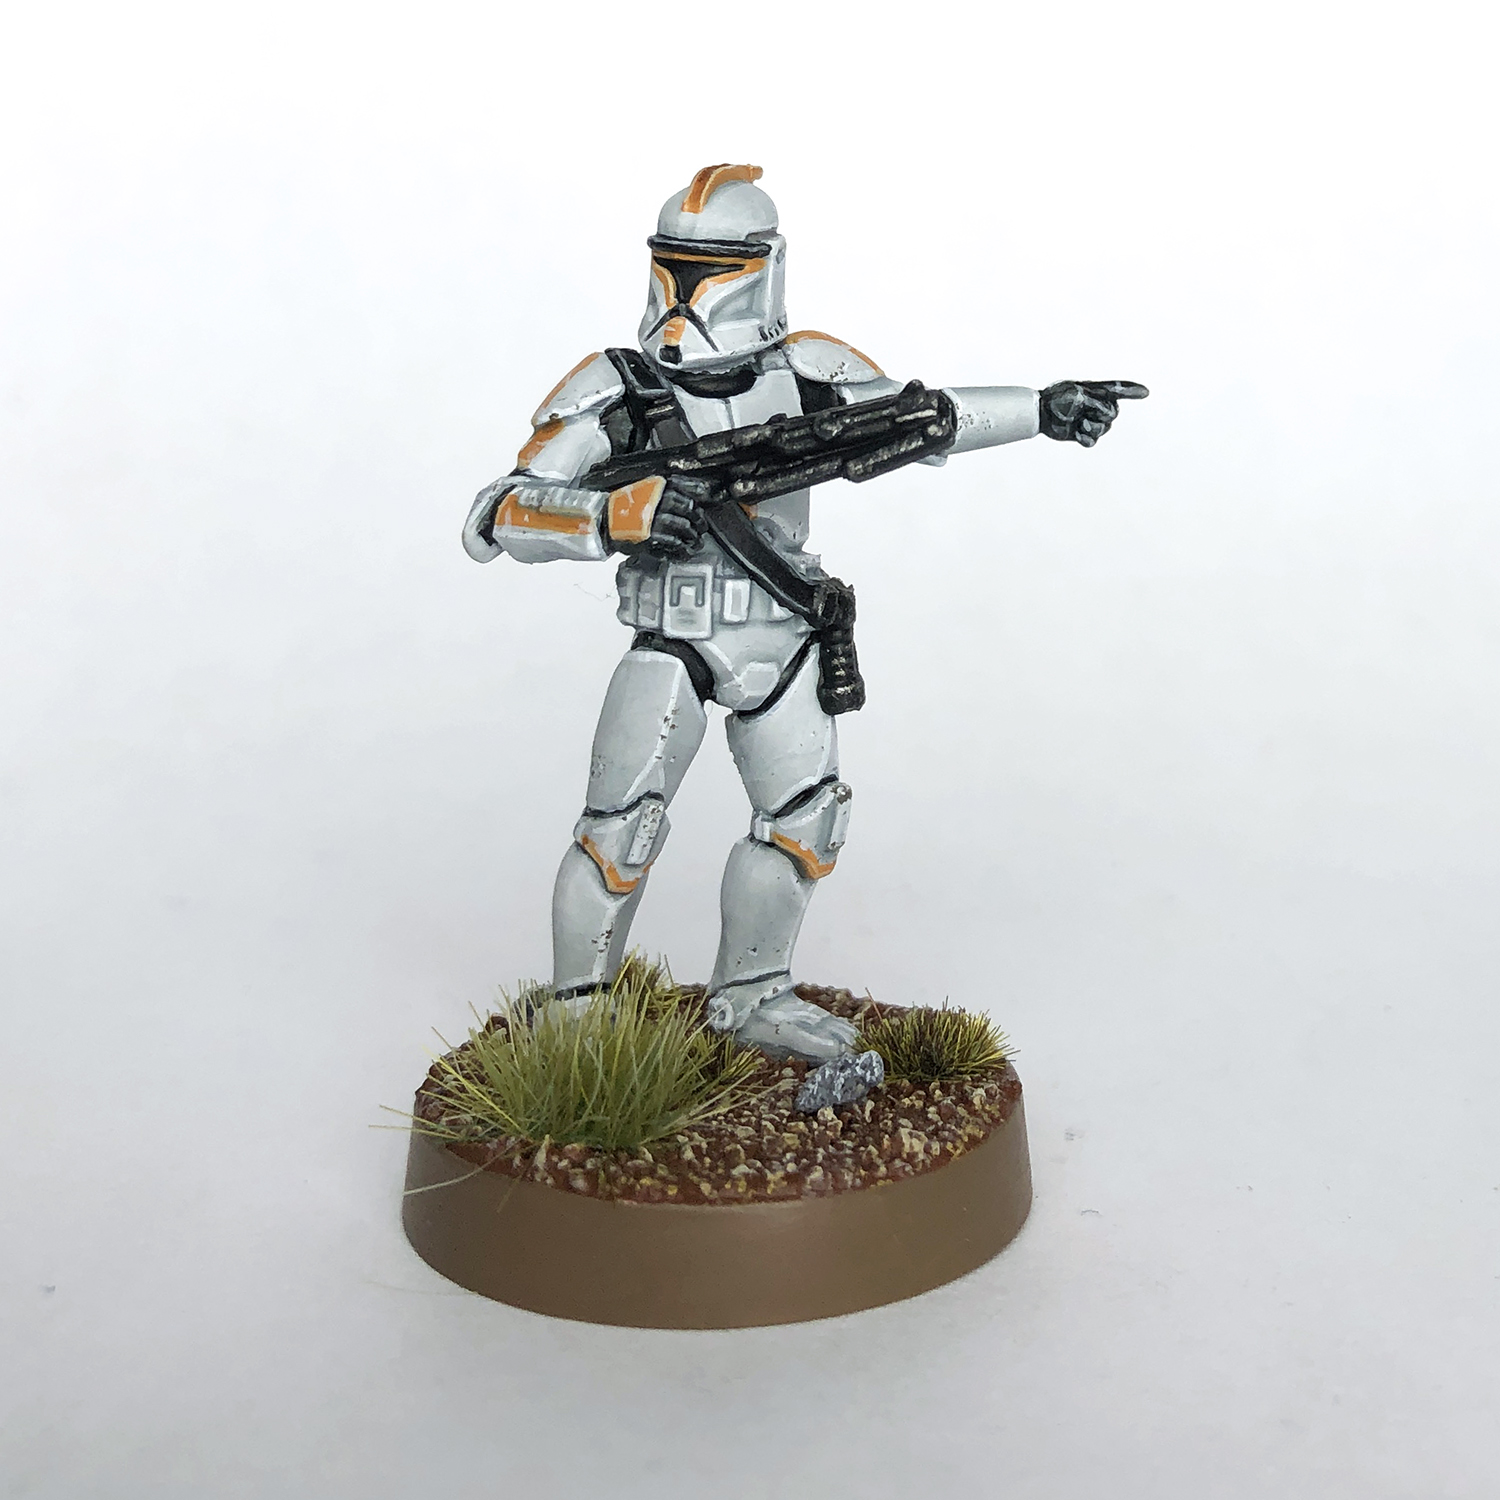
That's it! Your clone is now ready to take the fight to the clankers of the separatists! Base your model however you want. I glued sand to mine, base coated it with Mournfang Brown, drubrushed with Zemesi Desert, followed by a second drybrush of Screaming Skull. The rocks were painted with Dawnstone, then drybrushed with Ulthuan Grey and then a little white. The grass tufts are from Gamer Grass and the rim is painted with Steel Legion Drab. This is essentially the 'Eavy Metal basing scheme from GW.

These models are all pretty quick to paint up. I split my unit in half and did steps 1 - 3 on one half of the unit all together, then did them one at a time for the rest of the steps, then went back and repeated that on the second half of the unit. You can certainly do them all at once as well, but I found breaking it down in this way helped me focus more on each Clone and avoid getting burned out. It took me about an evening to do steps 1 - 3 for half the unit, and then I was able to do steps 4 - 13 on about 1 or 2 clones an evening after that. The whole unit took me about a week to do.

This tutorial covers about 80% of all models in a Republic army. I painted the armor and black areas on Obi-Wan in the same way for instance.

Until next time,
Tyler M.
No comments:
Post a Comment