
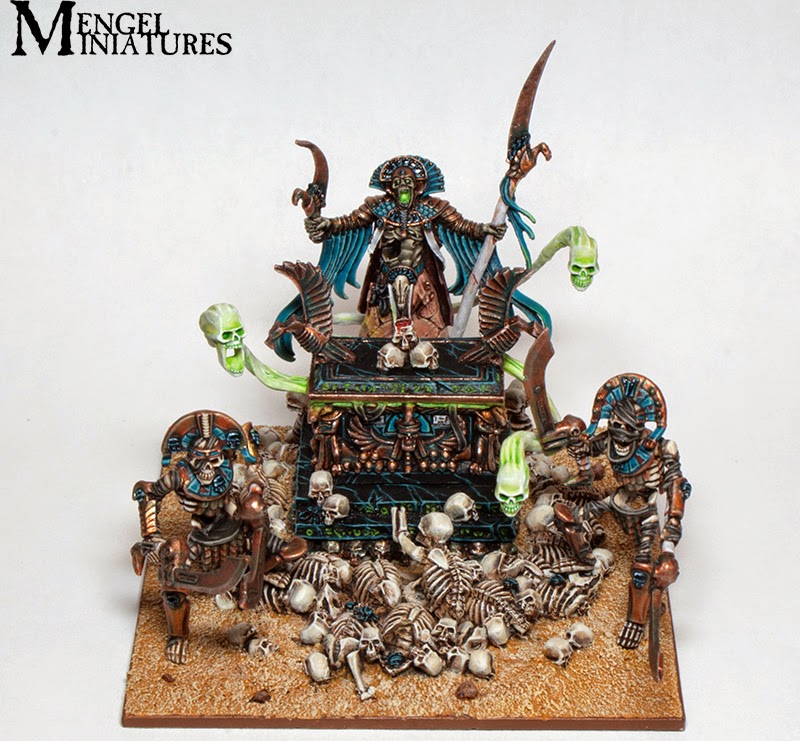
It's done, finally! I knew this model was going to take a long time to paint and that's part of why it took me two years to finally start on it after I bought it. I am very happy with how it turned out. The liche priest had plenty of obstacles to overcome while I was painting. I have always loved the sculpt, but there are just a few parts that bother me.
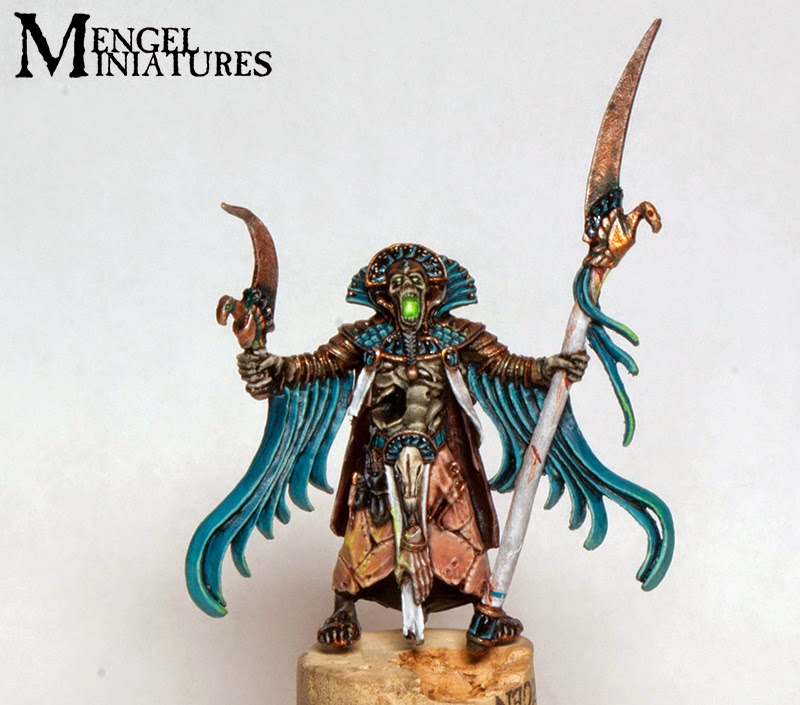
I wasn't sure what to do with the flayed skin kilt and overcoat since I feel like it doesn't really fit the rest of the Tomb King aesthetic. In the end I just decided to go with the flow and paint it how it was intended. He also has some weird hair stuff sculpted behind his first headdress, which I still have no clue what it's supposed to be. This was just painted black with a quick highlight.
One of the hardest choices was deciding how to apply my turquoise and white scheme to the liche. With the long strips of cloth on his arms I ran the risk of doing a striped effect with white and blue, but decided just to lean more heavily towards the blue side of my scheme.
You can see a step by step on how I painted the skin here. I based the recipe off of a an old 'Eavy Metal painting guide from White Dwarf when the Tomb Kings were first released for 6th edition. I changed it a little by not including a Flesh Wash (which now would be Riekland Fleshshade) step, but this was due to me forgetting it instead of opting not to. On the next model with mummified skin I might try the original paint recipe and compare the two.
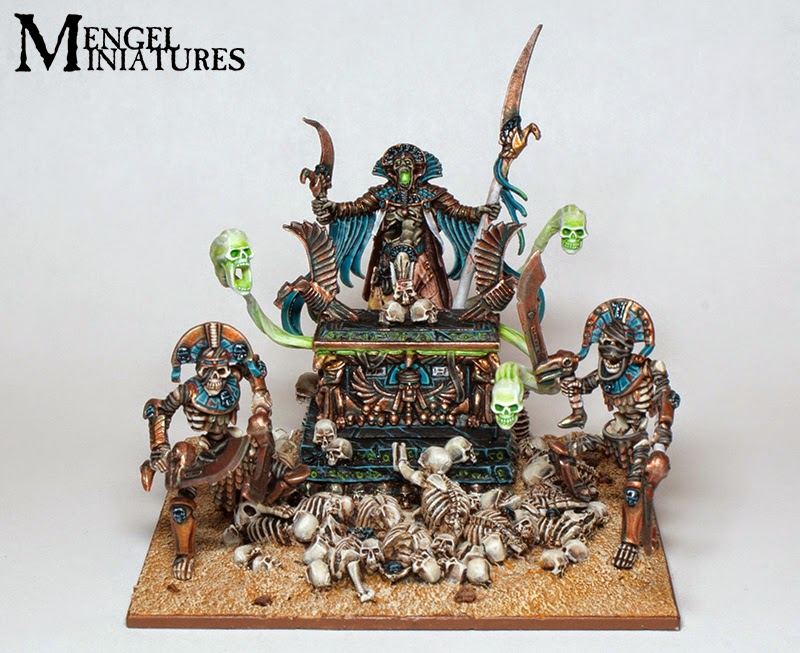
After I had finished the whole model I placed him on the Casket of Souls to see where he aligned with the ghost skulls. Using this as my basis I used watered down Scorpion Green to add an OSS light effect on to the priest.
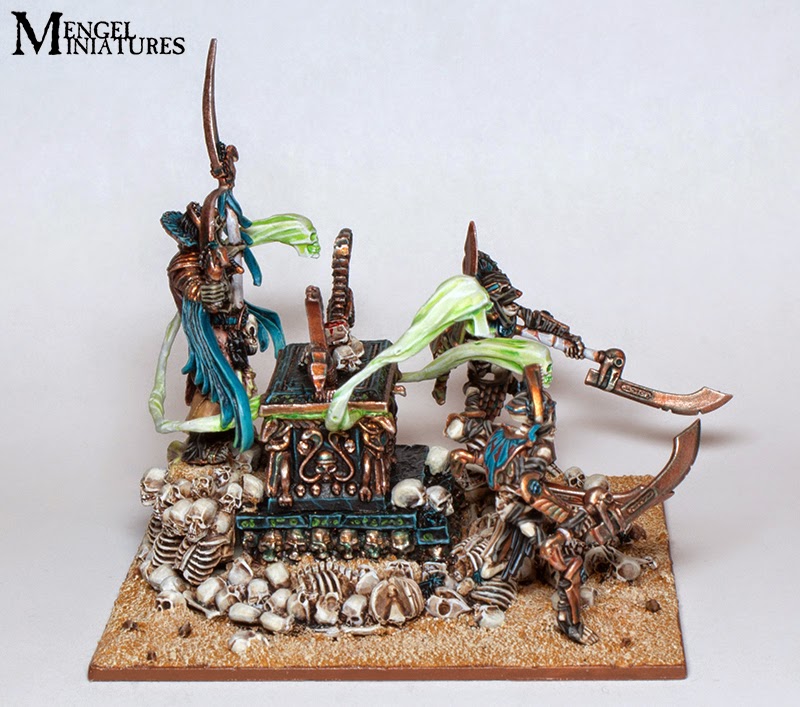
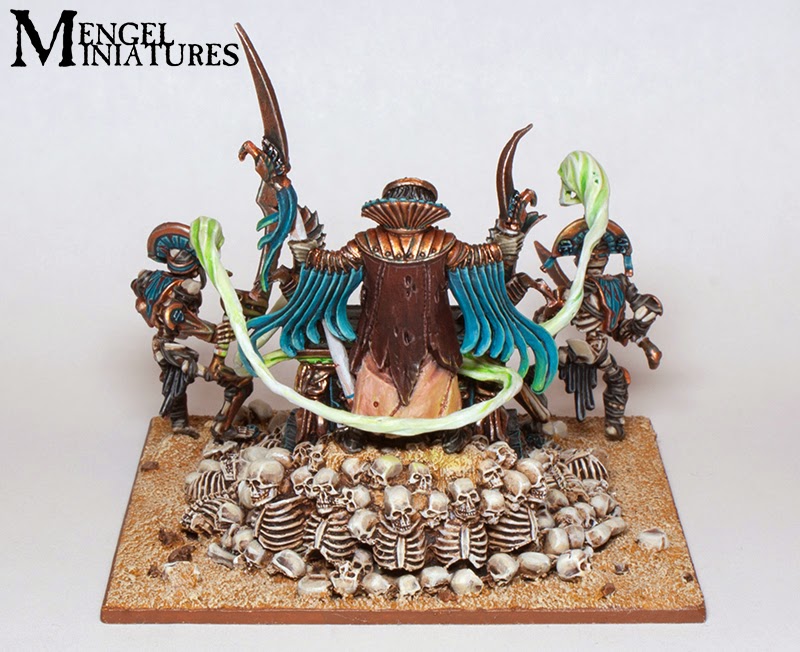
I gave all the metal on him some verdigris in the same manner as the Tomb Guard, but toned it down a bit. I did this so it looks like his armor and jewels are cared for a little more then the average warrior. I used this as an opportunity do the same to the gold on the casket so it ties in with my army. I also added a few skulls and mounds of sand to the back of the base to make it more visually interesting and balance the model more.
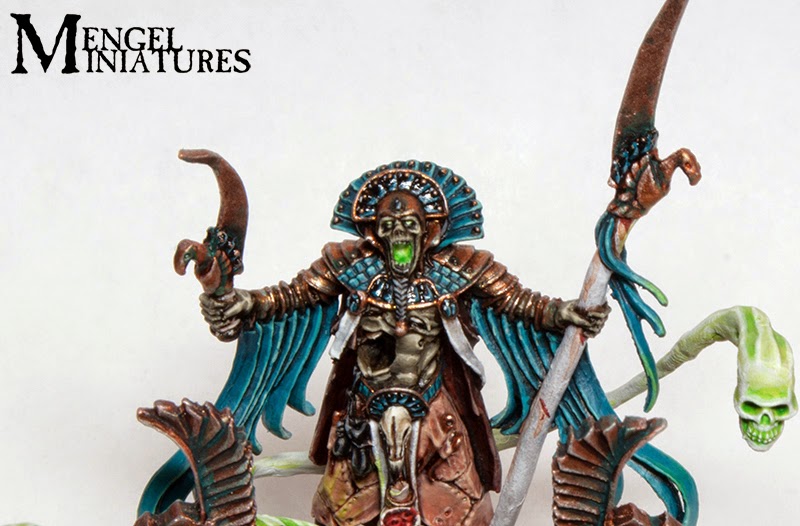
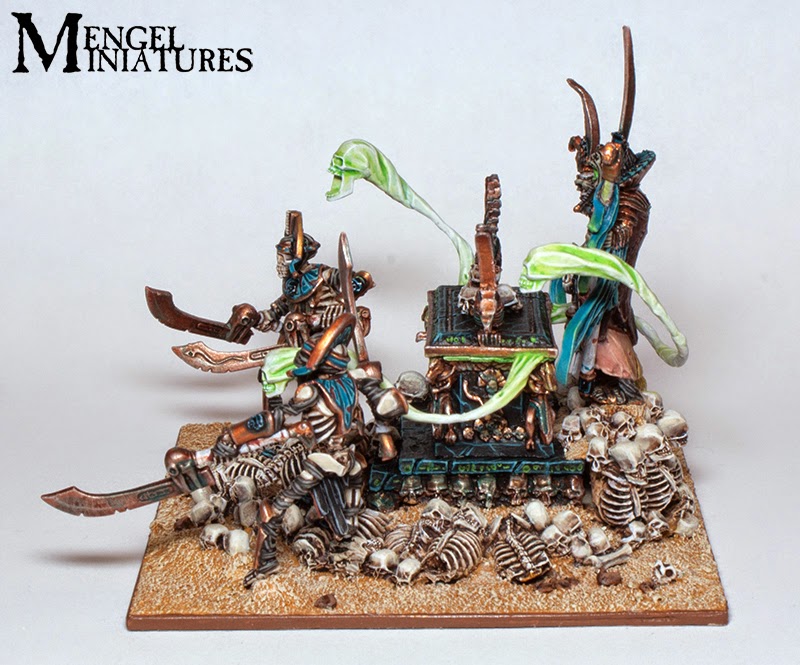
The last thing I did was fill the giant hole in the back of his throat. This helped make the glow effect in his mouth more cohesive.
Well now that it's all done I hope you enjoyed the ride and seeing how this progressed over the weeks. I may still add some blood effect on to his sacrificial knife, but besides that I'm on to the next thing. With Armies on Parade approaching fast it's a safe bet to assume it with be something else from the sands of Nehekhara.
Be sure to vote for it on Cool Mini or Not here.
Until next time,
Tyler M.
No comments:
Post a Comment