
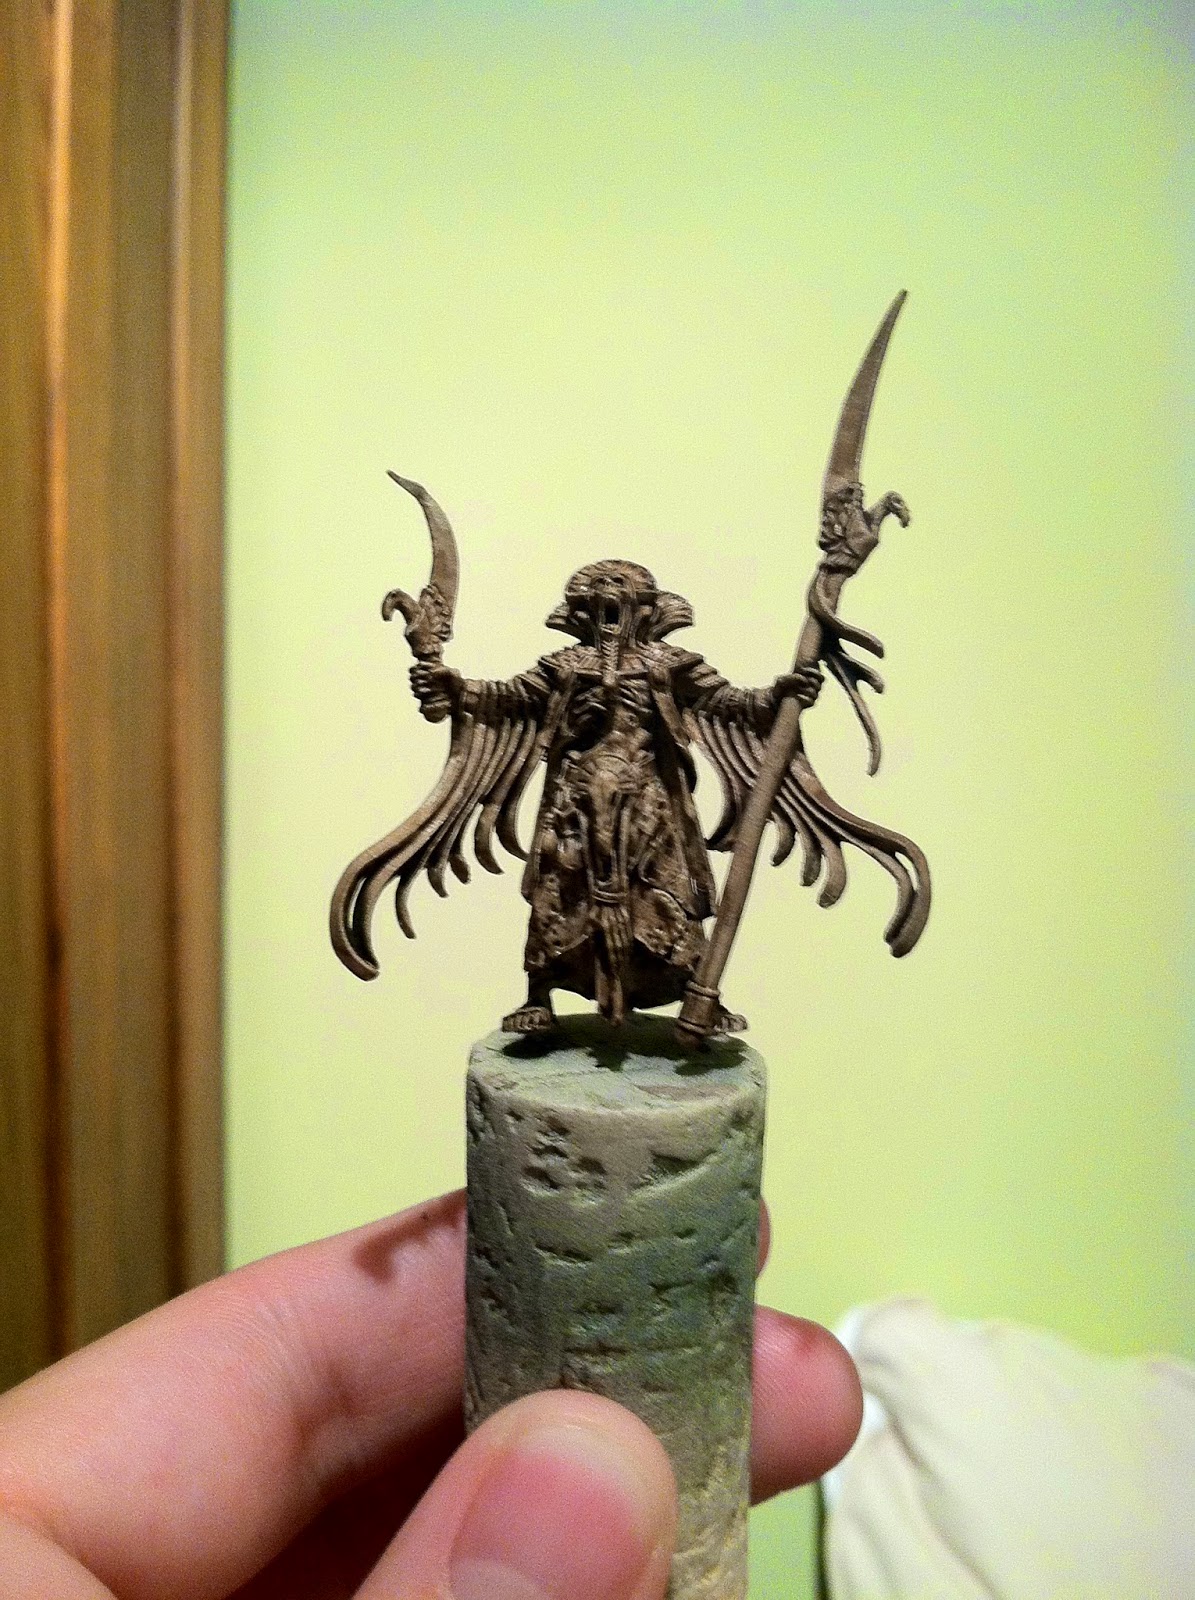
In the last installment the model was ready to paint so I wasted no time. Looking over the model I decided that I had to paint it in several subassemblies to be able to get to all the nooks and crannies. I ended up dividing it up by priest, the base with mound of skeletons, the casket with skull ghosts, and each of the tomb guards. All of them were pinned to a wine cork (I have plenty) so I could prime them easier and also have something to hold onto while painting.

They were all primed with the Bone primer from Army Painter. After thinking about my color scheme a bit more I decided that I should have sprayed the priest and casket black to save myself sometime, but I'll go over why later.
Since my priest and casket are both darker I gave each of them a thorough wash of Agrax Earthshade. This way all of the details were picked out for me and if I miss any spots in a crack or something, it won't stand out.
+copy.JPG)
After looking through a few examples of other people's Casket of Souls I decided to paint mine the same way I am painting all of my stone constructs in my army, with a black marble effect. So, first things first, I went and painted almost my whole casket black, hence why I should have just primed it that way to start.
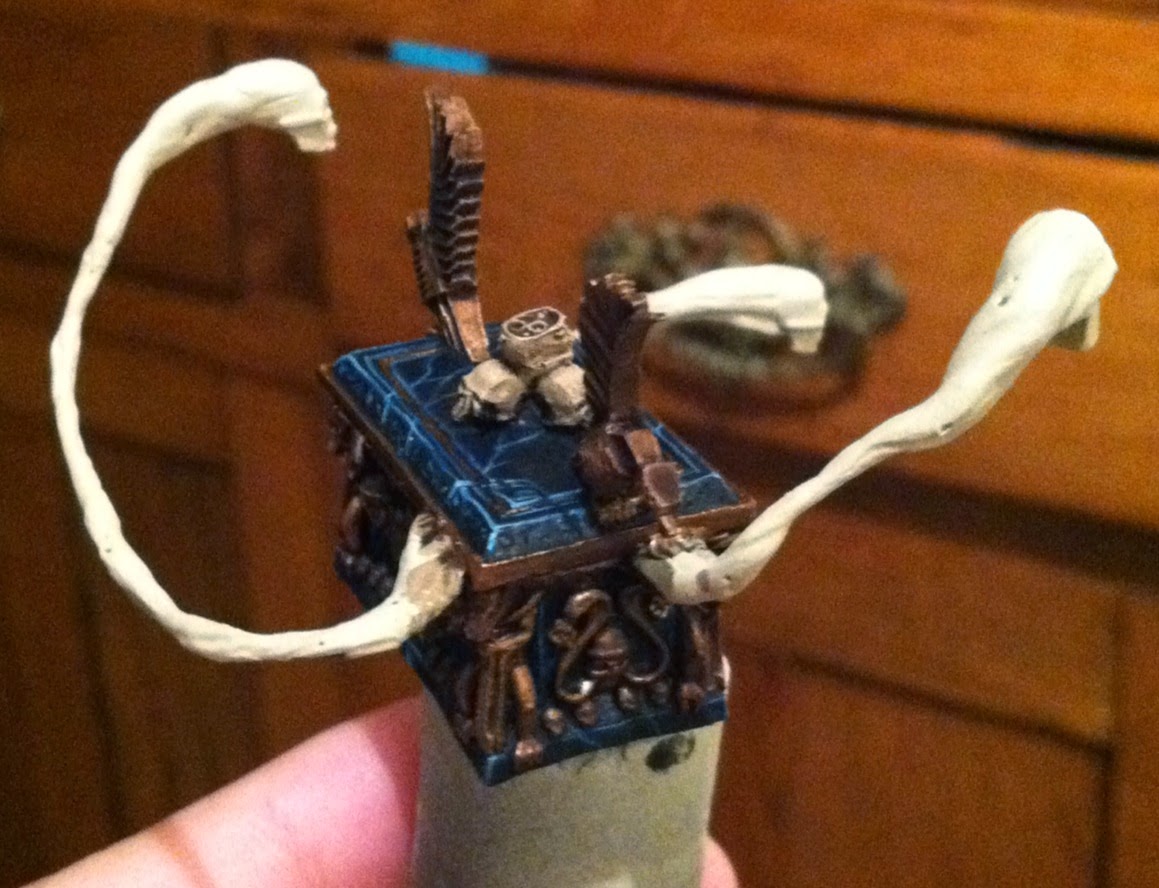
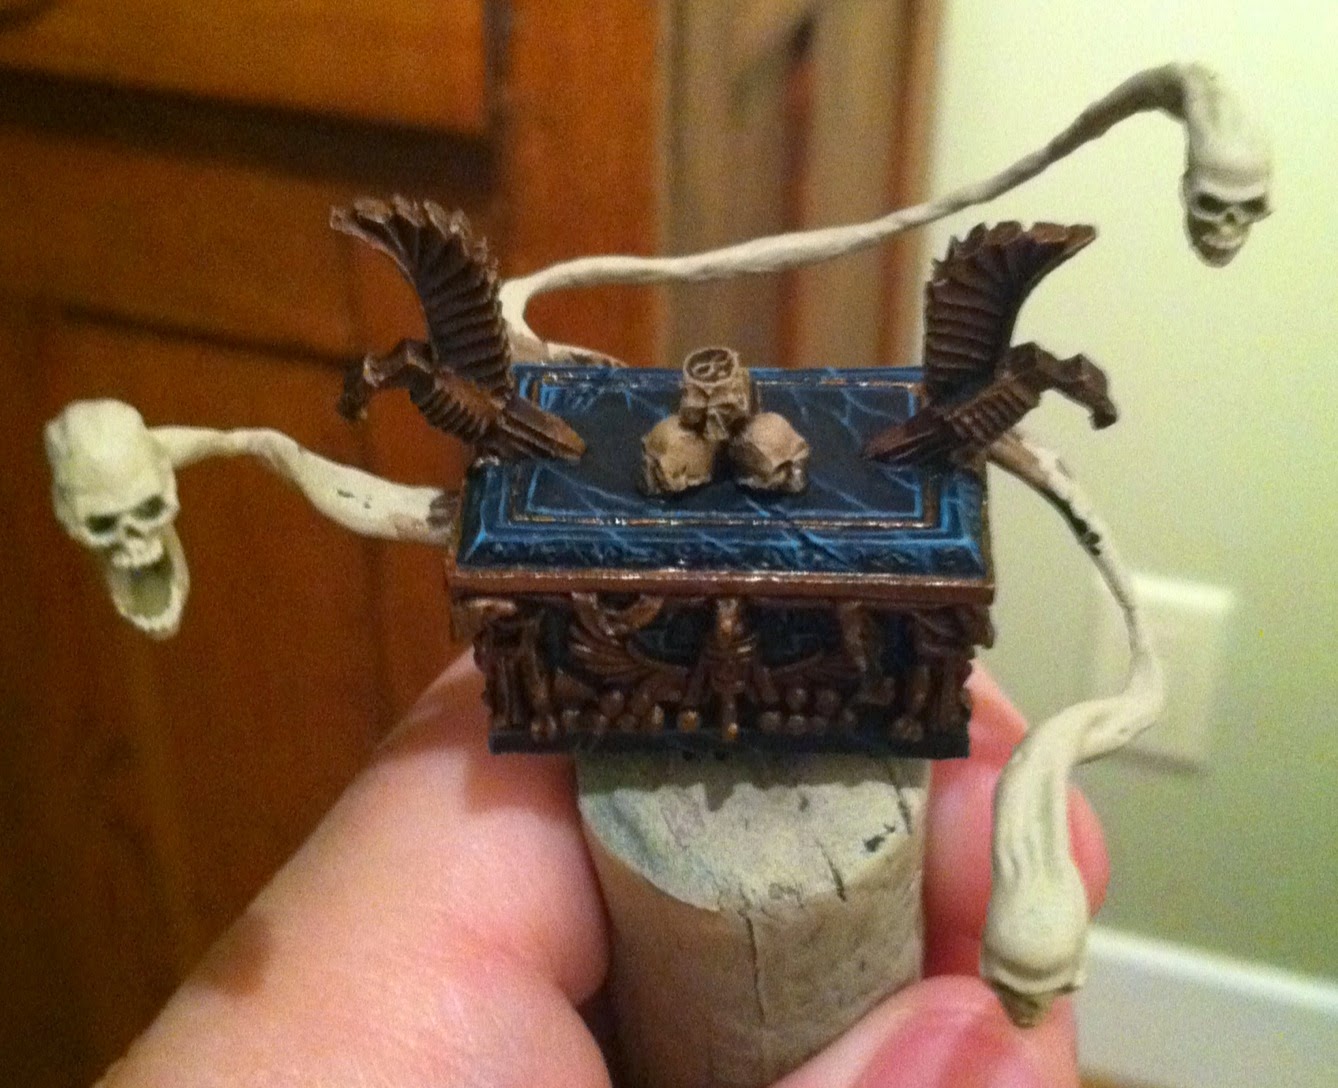
I will go over how to paint the marble in a more in depth tutorial sometime soon, but essentially it's black and turquoise blended together and painted in a random striation effect. After that was done I basecoated all of the gold parts with Balthasar Gold, then washed them with Earthshade. Unfortunately, it seems like I forgot to take any pictures of the gold once it was done before moving on to the next area, but all I did was layer Gehanna's Gold on top and highlight by mixing in Runefang Steel. I also did a few shadow effects by mixing in some Rhinox Hide, but this was mostly just done on the large flat areas. Now on to the next fun part!
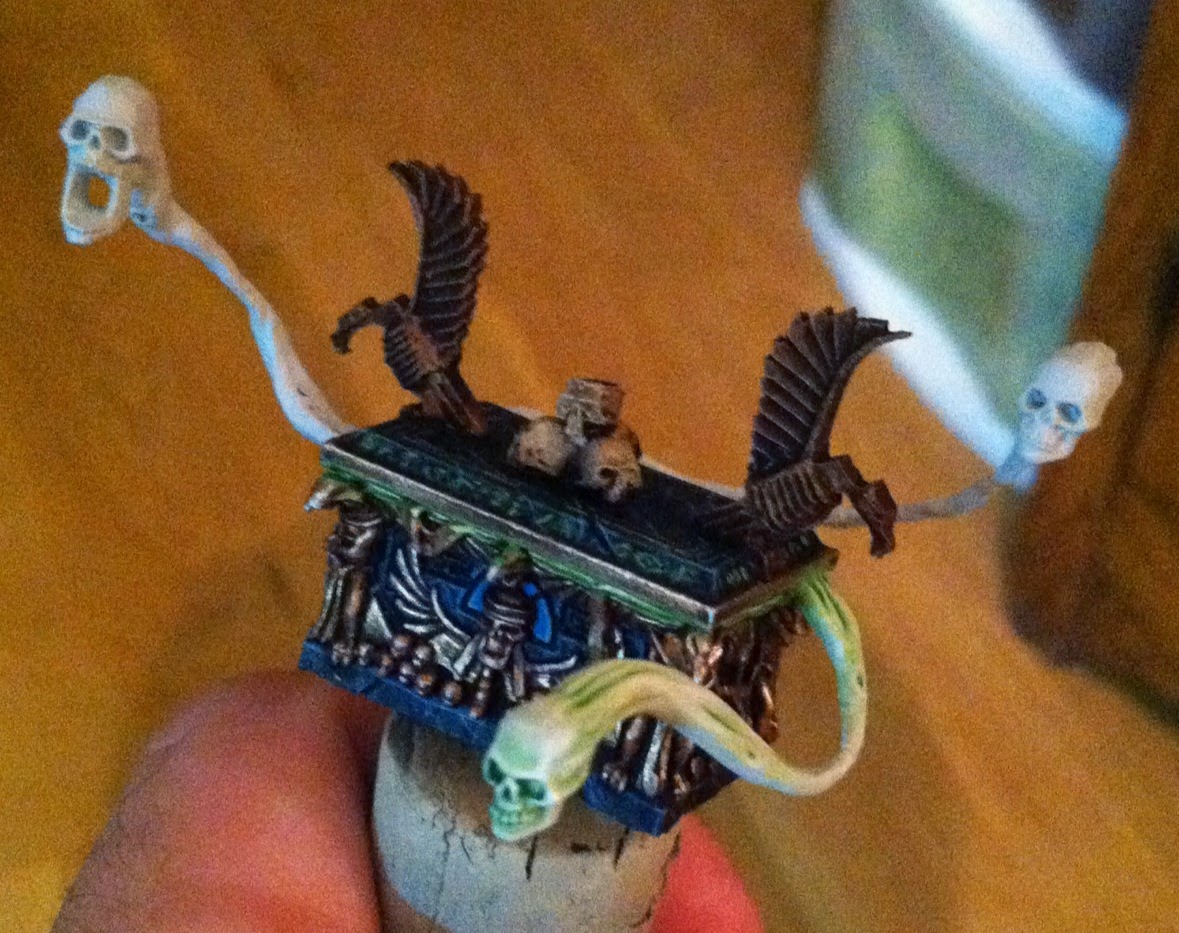
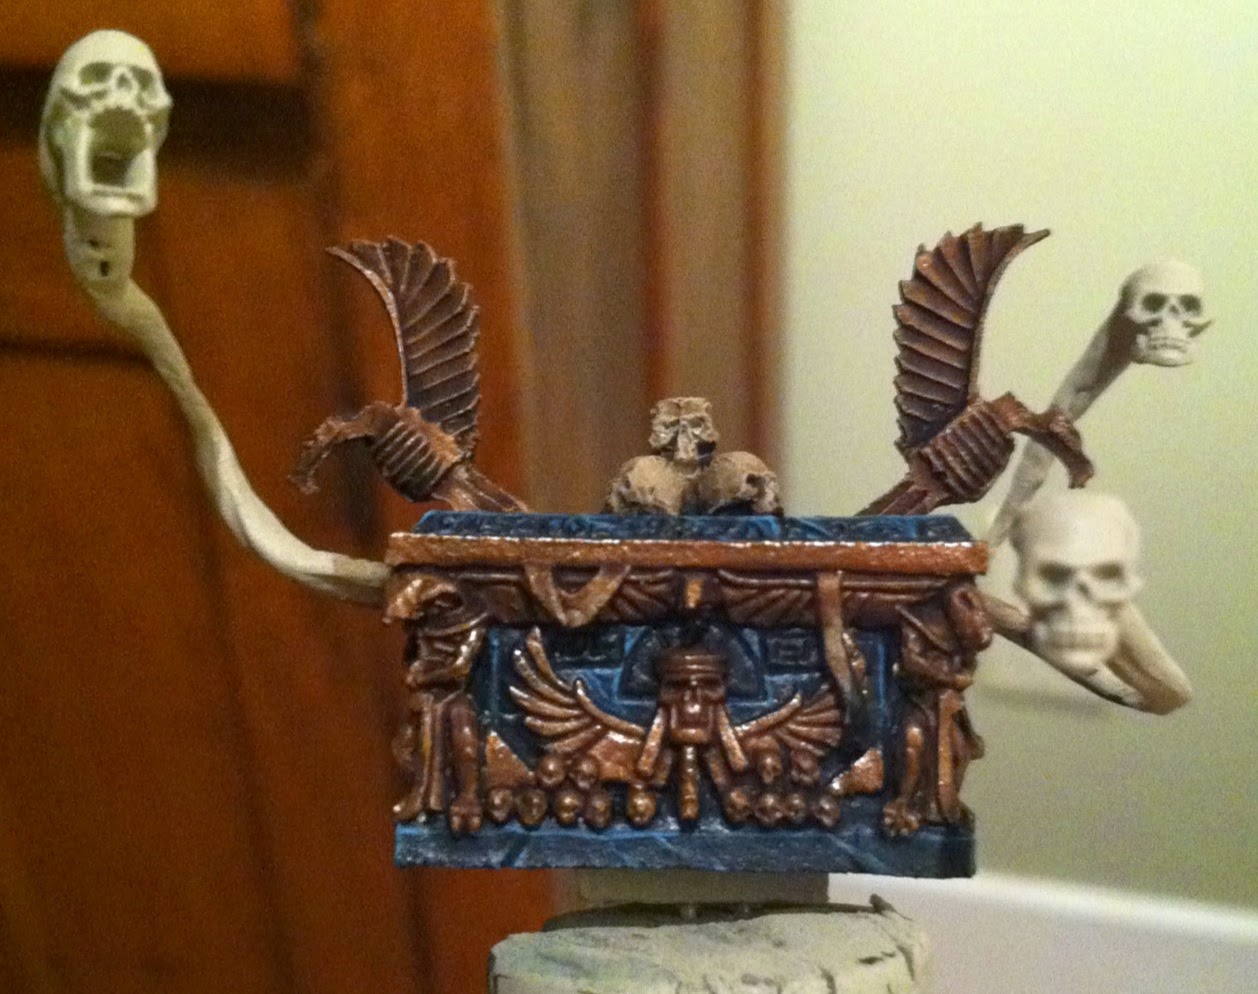
First off, you can see the finished gold in these pictures, although I haven't painted the eagles yet. I needed a break from gold. The ghost skull was a ton of fun to paint. I basecoated it with Ulthuan Grey then washed it in a few select areas with Scorpion Green (older color), and then darkened the shade down in a few even more select areas by mixing in some Snot Green.
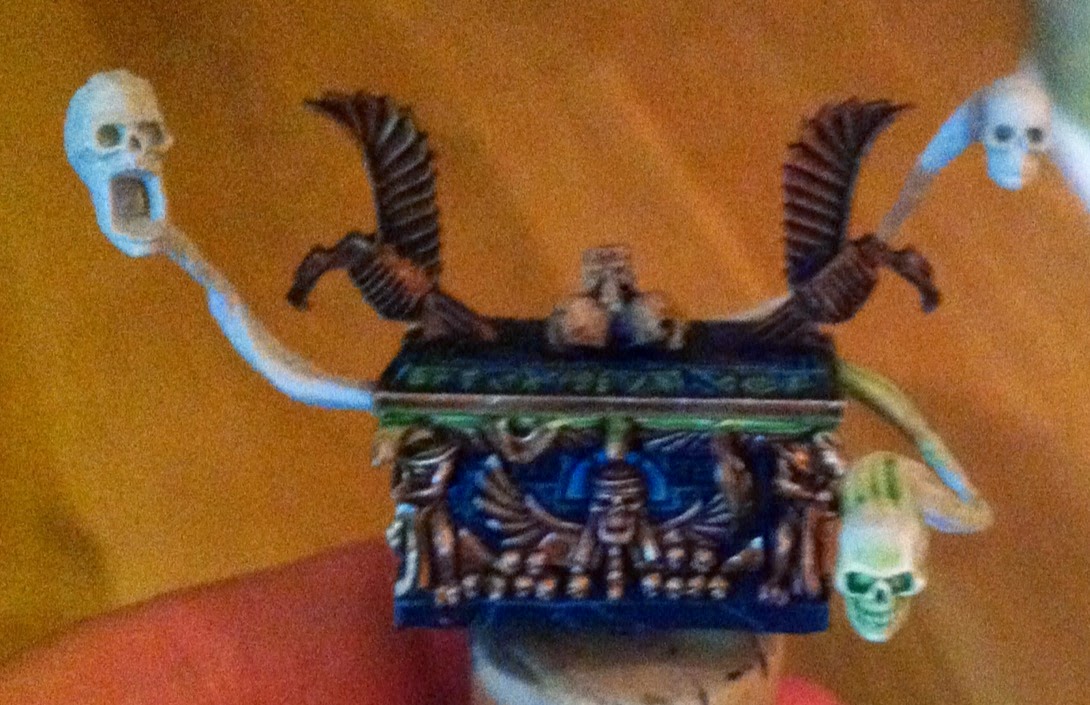
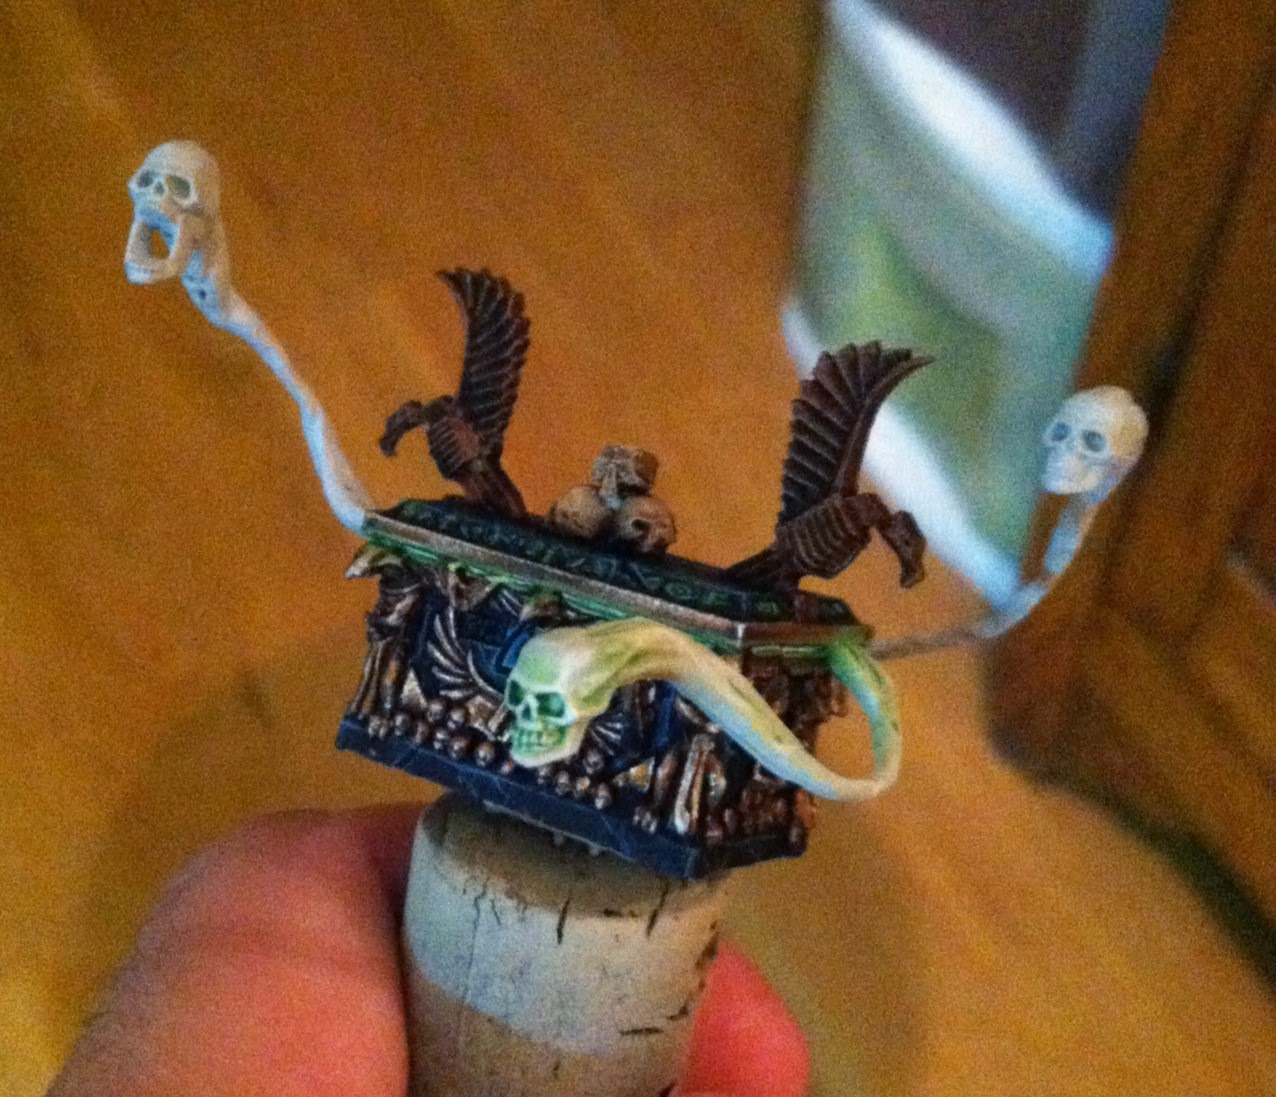
This was done mostly on the skull itself, in any of the "valleys" on the ghost tail and near where the ghost comes out of the casket. I then re-layered it with Ulthuan Grey leaving the green in the recesses and blending it a bit in a few spots. This was then highlighted with White Scar. Finally, I did a glaze of Scorpion Green around where the ghost comes out of the casket and right behind the skull. While I was doing this I also added a green glow coming out from the crack between the casket and its lid.

That's all for now. Next up are the two other ghosts and all of the rest of the model! I will probably finish the whole casket and base up before I start on the priest or guards, but we shall see. It all comes down to if I get bored with one part, if I do then I will take a break by painting a different part.
If you have any questions let me know in the comments.
Until next time,
Tyler M.
No comments:
Post a Comment