
The Kurnothi of the Wild Hunt are such cool models and entirely unique within Age of Sigmar. As I made my way through the Underworlds Warbands I knew I had to tackle these woodland warriors early on.

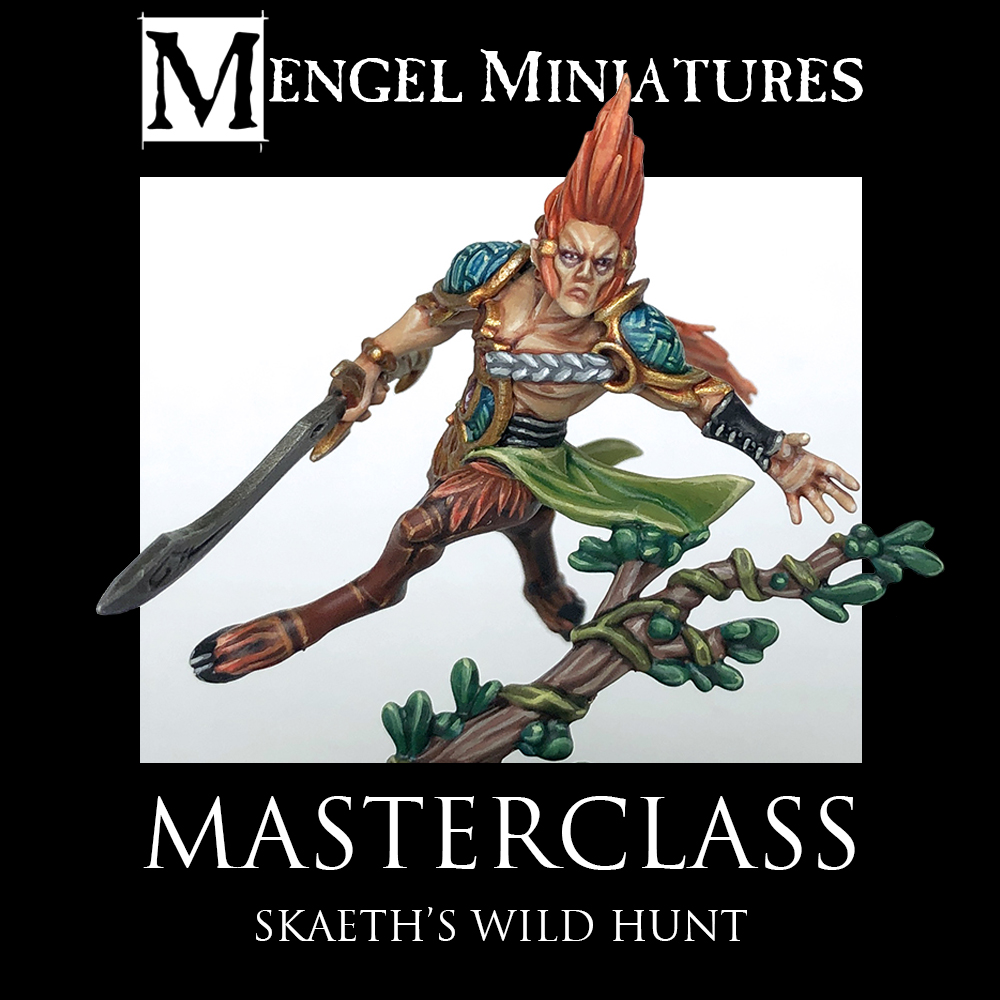
I'll admit, when I saw some of the pictures of these models when they were first teased I was skeptical, but after looking at them in person and painting them I'm sold! I think part of the problem is that they are hard to photograph since they're so dynamic. You lose some of that dynamism in still photographs. For example, the guy leaping over the log was one of my least favorite member of the warband originally, now he's one of my favorites! Trust me, if you were skeptical about the Kurnothi from just the photos, take a look at them in person if you can.

I went into painting them with only one clear goal in mind, I wanted to do the orange hair. I know that's another point of contention for some, but it's something I wanted to stick with as I felt it was a defining color for them. Plus, I need it to match the dice I got for them. Beyond that I kind of came up with the color scheme as I went along. Originally I was going to stick with the red armor, but switched to a blue/green gradient instead just to do something different. I also punched up the vibrancy of their cloth a bit. I feel that both of these reinforce the old Wood Elf connections more. I wanted to keep the red in there though, so made sure everything else had a red/warm tint to it. It provides some nice contrast too between the warm and cool colors.

Unfortunately I did not finish Skaeth himself, nor the war kitty, but I wanted to get this guide out there for people without making you wait another two weeks. Almost all of the colors used on these three Kurnothi will be the exact same ones used on Skaeth. The only new colors may be on the war kitty, which I will do a little quick tip for on my socials once he is done.

I had to take a bit of a break after finishing these three since they have so much detail. I'm currently painting up the Sepulchral Guard, and then will be returning to Skaeth and the war kitty afterward. It's important not to burn yourself out on painting a particular color scheme.
The Skin

An interesting part of painting all of these different Underworlds warbands is trying out different skin techniques on all of them. I knew for the Kurnothi I wanted something that looked healthy and alive, but still fairly pale since they're aelves after all. To start with, the models were primed with Wraithbone since it gave a nice color to work off of for everything. The skin was then base coated with Kislev Flesh. This was followed by a 50/50 mix of Guilliman Flesh and Contrast Medium painted only into the recesses. Doing it this way just saves you time with cleaning up in the next step. Some areas, like the faces and hands, just go an all over shade of this since there is so much detail on them.

Next, I tidied up with Kislev Flesh where needed. If you thin this paint down you can do some cool gradients in some of the flatter areas as well. The first highlight was done with Flayed One Flesh. You want to be a bit broader with this highlight. On areas like the face it was almost more of a layer, with a thin coat of this being applied across the cheeks, jawline, and forehead. Again, if you keep it thin you can do some nice gradients. Next I picked out the eyes with Druchii Violet and the bottom lip with Carroburg Crimson. On the female Kurnothi I also watered down the Druchii Violet a bit and painted some on on the area directly above her eye for an eye shadow effect. The final highlight was done with Pallid Wych Flesh. This was used more sparingly and only used to pick out the most prominent edges. I also decided that the males looked a little odd without nipples, so I painted some on using Reikland Fleshshade. The eyes were then picked out with White Scar and dotted with Black Templar. This was all done in a similar method to how I painted the skin on Hrothgorn, but slightly darker and redder.
The Deer Legs

I knew I wanted a reddish tint to the brown on the deer parts to tie into their orange hair, so I started with a base coat of Doombull Brown. This color is pretty thin, so it'll take a few coats. Once dry I went over all of it with a 50/50 mix of Cygor Brown and Contrast Medium. I then went back with Doombull Brown and re-layered areas I wanted to be brighter. Since this paint is thin, like I mentioned, you can get some real easy gradients without much effort. You basically want Doombull Brown to be the main color on all the raised and flat areas, with the shade step only in the recesses. The hair at the top of their legs was completely re-base coated with Doombull Brown. The first highlight was done with Skragg Brown. I went kind of chunky with this one, picking out the edges of the musculature. On the hair this was painted on in lines, following the flow of the hair. Next, I went over top of this with Jokaero Orange, but much thinner. Do the same on the hair on the legs. Finally, for the legs themselves I did a highlight of Jokaero Orange mixed with a little Screaming Skull only on the most prominent areas. Mostly as dots on corners, like near the knees. This was not done on the hair.

For the hair on the legs I next did a more refined highlight of Wild Rider Red near the tips of each tuft. You want the hair to look like it's more brown near the roots and oranger near the tips. This was followed with Lugganath Orange on the very point of the tufts. I then glazed all of the hair with thinned down Gryph-charger Orange. I just used water to thin it as I just needed it to tint the color and didn't care about the Contrast properties. Once dry, I re-picked out the very tips with Lugganath Orange.
The Leather and Hooves

All of the leather straps and such were base coated with Abaddon Black. These were then given an edge highlight of Stormvermin Fur, followed by a second, more refined highlight by mixing in Screaming Skull. I wanted this leather to look very clean, so I added some specular highlights of Pallid Wych Flesh on corners that would reflect light. Use this part very sparingly.

The hooves were painted at the same time with the same base coat. To differentiate them a bit I highlighted them with Dawnstone, then Grey Seer, and dots of White Scar. The antlers on the wand that the horn blower is holding were painted in the same way.
The Armor

All of the armor areas were base coated with Sotek Green. This was then shaded with Coelia Greenshade. Once dry I went back over with Sotek Green, leaving the shade between the pieces of hatched armor. I also painted this on in a hatched pattern on the rectangles, painting around three lines per rectangle, but being fairly broad with them. This was then followed by a highlight of Sotek Green mixed with a little Screaming Skull, using thinner highlights. Finally, I mixed in even more Screaming Skull and picked out the corners of each rectangle.

To get the gradient between the blue and green I actually used Waywatcher Green, which is a discontinued glaze paint by GW, but watered down Warp Lightning Green will get a similar effect. I painted this on the bottom half of each armor panel. Once dry I did a second coat, but only on the bottom quarter, so that there was a slight gradient. This dulled down the highlights a bit, so I went back an re-applied the final highlight stage on the areas that got the green glaze.
The Cloth

The cloth areas were base coated with Elysian Green. These then got a 50/50 mix of Ork Flesh and Contrast Medium painted into the folds and near where the cloth met the armor. I then went back with Elysian Green and touched up any areas that needed it. I also thinned this down and used it as a glaze to create a transition on some of the flatter areas between dark and light. For the highlights I mixed, you guessed it, Screaming Skull into the Elysian Green and picked out the edges and folds. The final highlight had more Screaming Skull mixed in and used only on the most prominent areas.
The Cream Areas

I decided I wanted to do the weapon hafts, bow, and parts of the horn in a cream color. These were base coated with Wraithbone. I then painted Agrax Earthshade into the crevices and areas where the color butted up against another color. Tidy up with Wraithbone and then do an edge highlight with White Scar.
The Hair

I know some people don't like the orange hair on the Kurnothi, but for me it's one of their defining features. Plus, my wife really likes orange and has been wanting me to do something with that color forever. I base coated all of the hair and their tails with Jokaero Orange. I then painted Lugganath Orange on the half of the hair/tails closest to the tips. I then blended this color between the two oranges. It doesn't have to be super neat, but you don't want their to be an obvious line either.
 |
| The gradient base coat between Jokaero and Lugganath Orange |
Now you already have a gradient before doing any shading! This was then given two coats of a 50/50 mix of Gryph-charger Orange and Contrast Medium, waiting for the first coat to dry completely before applying the second.

Now, on the tail I needed it to blend into the brown of the deer legs near the base of the tail. To do this I first started applying some thinned down Skragg Brown to the third of the tail nearest the base. If you do this thin you can gradually build up the color. This was followed in the same method with Doombull Brown, but closer to the base of the tail. You can also start dragging this color out into the rest of the tail, following between the hair strands, so it's the shaded area. I also did this on the hair on their heads, painting the thinned down Doombull Brown between their hair strands near the roots. I also used it as a bit of a glaze, applied carefully, near their roots. Back to the tails, I then applied some very thinned down Cygor Brown in the same method, closest to the base of the tail.

For the highlights I picked out some of the hair strands with Jokaero Orange again near the middle of the hair, but don't follow it all the way to the roots, you want to leave the gradient. The tips of the hair were highlighted with Lugganath Orange again. I probably only did this on the top quarter of the hair, but you can adjust to your tastes. You just want there to be a good gradient from dark to light as the hair grows out.
The Gold

Since I went with a blue/green color for them instead of the red they normally have, I decided I wanted to bring the red back in on the gold. All of the gold areas were base coated with Retributor Armor. This was then given an all over shade of a 50/50 mix of Reikland Fleshshade and Reikland Fleshshade Gloss. I then went back with this color and built up the reddish tone on some of the flatter areas, like the leaf shaped armor on the front of the horn blower. I highlighted this with a 50/50 mix of Retributor Armor and Stormhost Silver, following the edges. Lastly, I used pure Stormhost Silver on the most prominent edges.
The Silver

The sword was base coated with Leadbelcher, and then given an all over wash of a 50/50 mix of Nuln Oil and Nuln Oil Gloss. This was followed by an edge highlight of Stormhost Silver.
The Braided Cord

I have to be honest, I had no clue what these things were supposed to be made out of. I tried a green color but didn't like it, so just went with the white that the studio used. To start with I base coated them Dawnstone. Next I layered on Grey Seer, leaving the Dawnstone in the recesses. Lastly, I used White Scar to pick out the top of each edge.
The Lamentari

Their Lamentari, or the gems in their stomachs, were base coated with Grey Seer, then given a wash of Magos Purple. Once dry I sparingly highlighted them with White Scar.
The Bases

These models have some pretty intricate bases, which I wasn't 100% sure what to do with. For the dirt I base coated it with Baneblade Brown. This was then drybrushed with a 50/50 mix of Baneblade Brown and Karak Stone, followed by a lighter drybrush of pure Karak Stone. I went over the most prominent areas even lighter with some Ushabti Bone. The "moss" type areas were given several glazes of thinned down Militarum Green, followed by thinned down Ork Flesh in even smaller patches. I feathered this color out near the edges and kind of painted it on in a blotchy, random pattern over the moss texture. You want these really thin.

The flowers were base coated with Grey Seer and then given two coats of Magos Purple. I then made a 50/50 mix of Grey Seer and Magos Purple and picked out the edges of the petals. The very tips got a highlight of White Scar. The middle parts of the flowers were base coated with Jokaero Orange, then washed with Gryph-charger Orange (be careful not to overlap onto the petals at all. They were the layered with Lugganath Orange.

The darker leaves were base coated with Kabalite Green. These then got a wash of Ork Flesh, followed by an edge highlight of a 50/50 mix of Kabalite Green and Elysian Green. The final highlight added a little Screaming Skull into that mix. The plant around the base of the large leaves was given two washes of Plaguebearer Flesh over Wraithbone, followed by a 50/50 mix of Ork Flesh and Contrast Medium. This was then highlighted with Ogryn Camo.

The tree branch was base coated with Gorthor Brown, washed with Agrax Earthshade, and then highlighted following the growth lines with Baneblade Brown, followed by Rakarth Flesh. The vine going around the branch was base coated with Deathworld Forest, and then washed with Militarum Green. This was given an edge highlight of Elysian Green, followed by a more refined highlight of Ogryn Camo.

The water was base coated with Calador Blue. This was then given a wash with a 30/70 mix of Tallasar Blue and Contrast Medium. Once dry I picked out the tops of the ripples with Calador Blue again. I then painted on Aethermatic Blue in a circle around the branch. Once dry I did a another coat even closer to the branch. I also did a second ring further out. This just helps break up the blue and add some more visual interest in. Next I used Calador Blue again to pick out certain ripples that I wanted to emphasize, then started mixing in some White Scar, ending with dots of almost pure White Scar as reflections. You can see how I didn't do this all the way around each ripple, but only in certain spots, almost like rays of light coming out from the branch.
That's it, they're done! It's quite a few steps, but the Kurnothi have quite a bit of detail on them. I'm already itching to get back to them and finish off Skaeth himself and then play them in some games. I'm trying not to use any warbands in Underworlds until they're completely painted, it's nice motivation. I think after I finish off the Wild Hunt I'm going to paint up their rivals from the Core Box, the Beasts of Chaos.
Until next time,
Tyler M.
No comments:
Post a Comment