

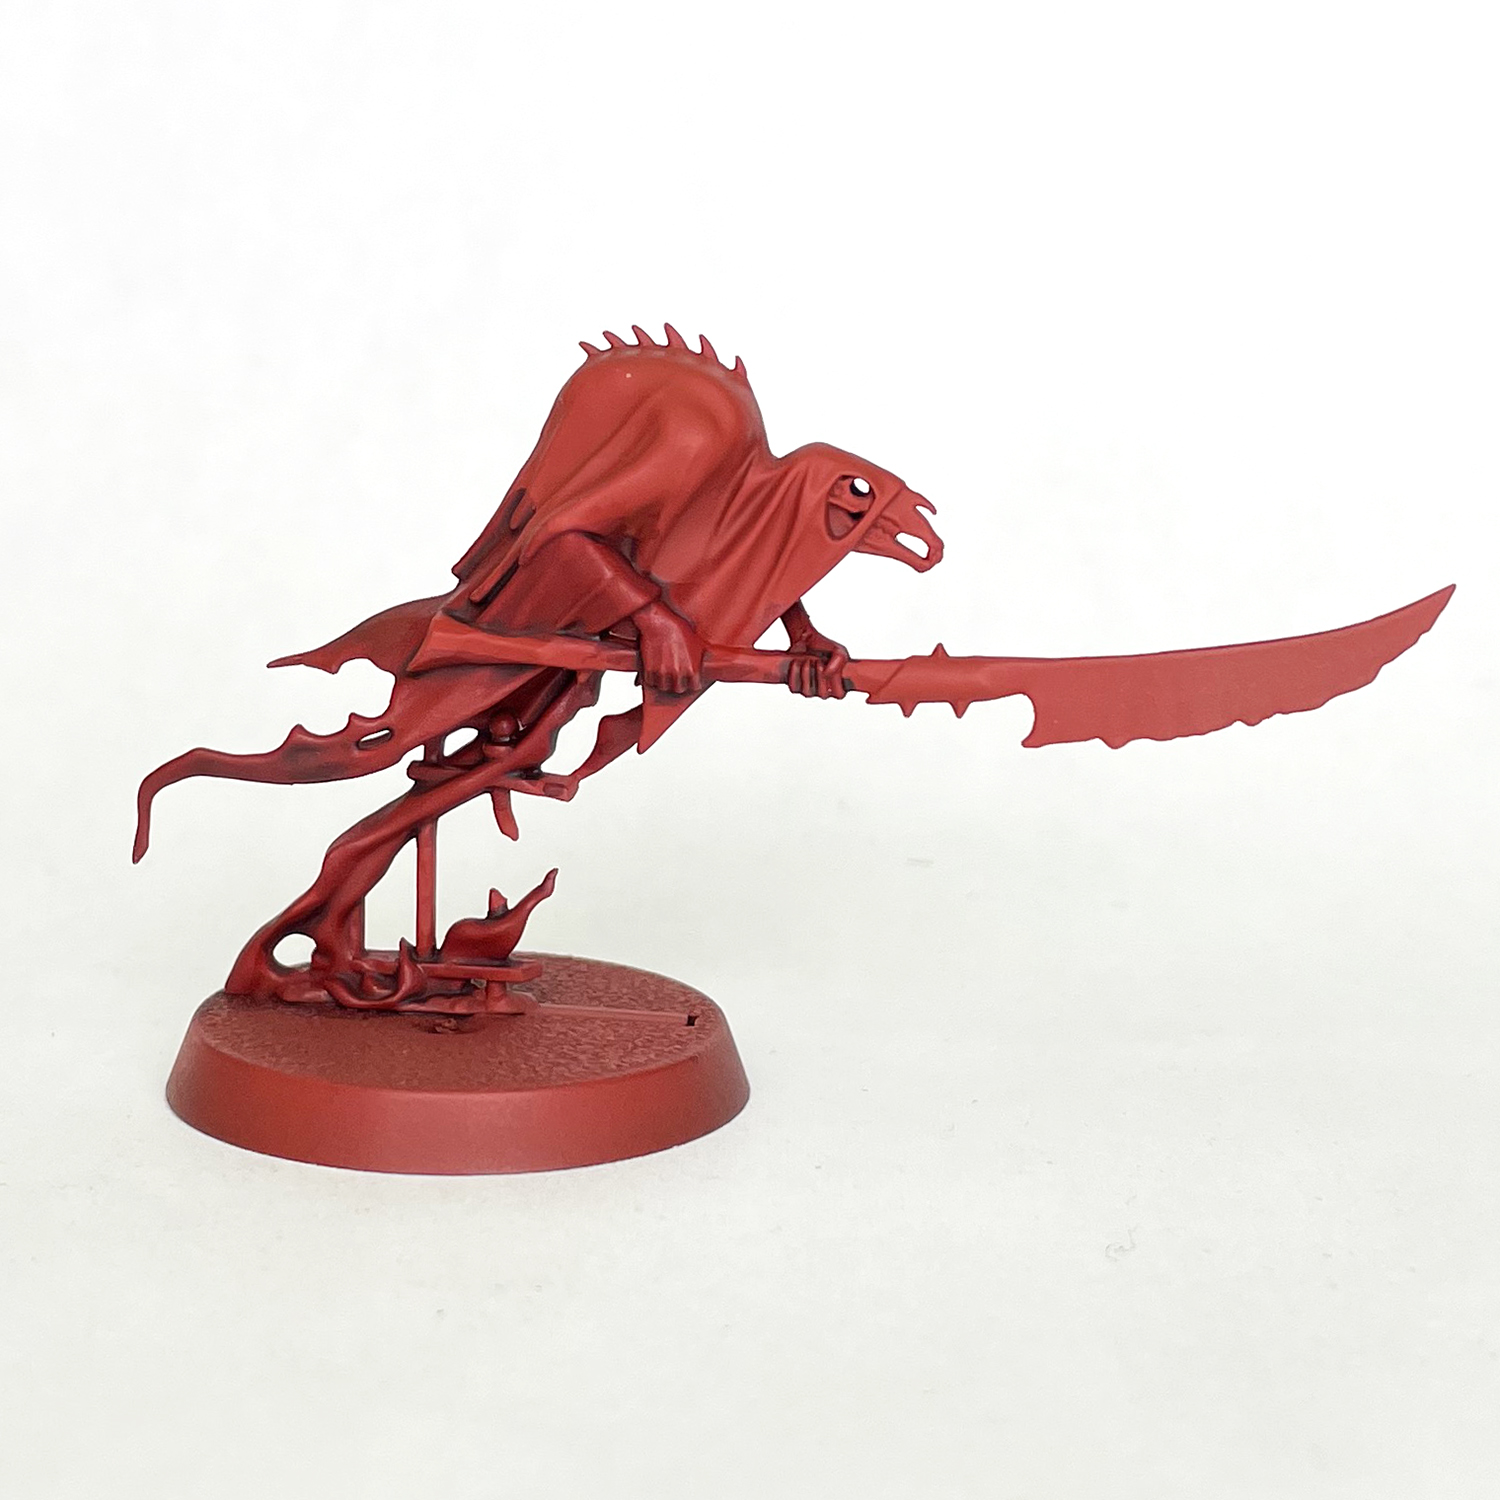
While I'm a big fan of the more traditional Nighthaunt color schemes, it's always cool to see some that are more unique. In the new Nighthaunt battletome we get two new sub-factions, each with a pretty cool color scheme, the Scarlet Doom and Quicksilver Dead. Today I'm going to show you how to paint the super bloody Scarlet Doom in an easy to follow step by step guide!
Blood

Step 1.
To start with, I primed the model with the Mephiston Red spray, and then gave all of the areas that were going to be blood a quick coat of Mephiston Red from the pot to make sure it was all evenly covered.
Step 2.
These blood areas were then given an all over wash of Carroburg Crimson.

Step 3.
Next, I highlighted this with Wild Rider Red. I just picked out edges and ridges with it.

Step 4.
This was followed by an even more refined highlight of Troll Slayer Orange. I reserved this for most prominent points and tips, and even just using it as a dot highlight in some areas.
Step 5.
Lastly, I glazed all of the blood with some Blood Angels Red that I thinned down with water. You just want to tint everything, so make sure the glaze isn't too strong.
The Cloak

Steps 1 and 2.
Oops, I forgot to take a picture between steps here. Sorry. First, I base coated the cloak with Gal Vorbak Red. This took several thin coats to get even coverage, so just be patient. Once that was dry I went over all of it with a wash of Nuln Oil. Just keep an eye on it to make sure it doesn't pool up in weird areas.

Step 3.
This was followed by a highlight of a 50/50 mix of Gal Vorbak Red and Wazdakka Red. You can make these highlights a bit more broad than normal.

Step 4.
Lastly, I used pure Wazdakka Red and did some more refined highlights.
The Bone

Step 1.
The skull and spines along its back were picked out with Morghast Bone.

Step 2.
This was followed by an all over wash on the bone with Seraphim Sepia. The teeth got two more layers of this.

Step 3.
I then highlighted it with Screaming Skull by picking out the edges.
The Wood

Step 1.
The wood of the spear was base coated with Abaddon Black.

Step 2.
Next, all of the ridges were highlighted with Dawnstone.

Step 3.
Lastly, I used Grey Seer and just picked out all of the points were the ridges intersect.
The Metal

Step 1.
The metal on the weapon and the base were base coated with Leadbelcher.

Step 2.
This was then given a wash of Nuln Oil.

Step 3.
I then edge highlighted it with Stormhost Silver and added on some scratches as well.
Finishing Touches

Step 1.
Next, base your model how you want. I decided to make it look like the scorched earth of Aqshy that they hail from. I use Astrogranite, added some rocks painted Mechanicus Standard Grey, then gave the whole thing a drybrush of Dawnstone followed by Administratum Grey.

Step 2.
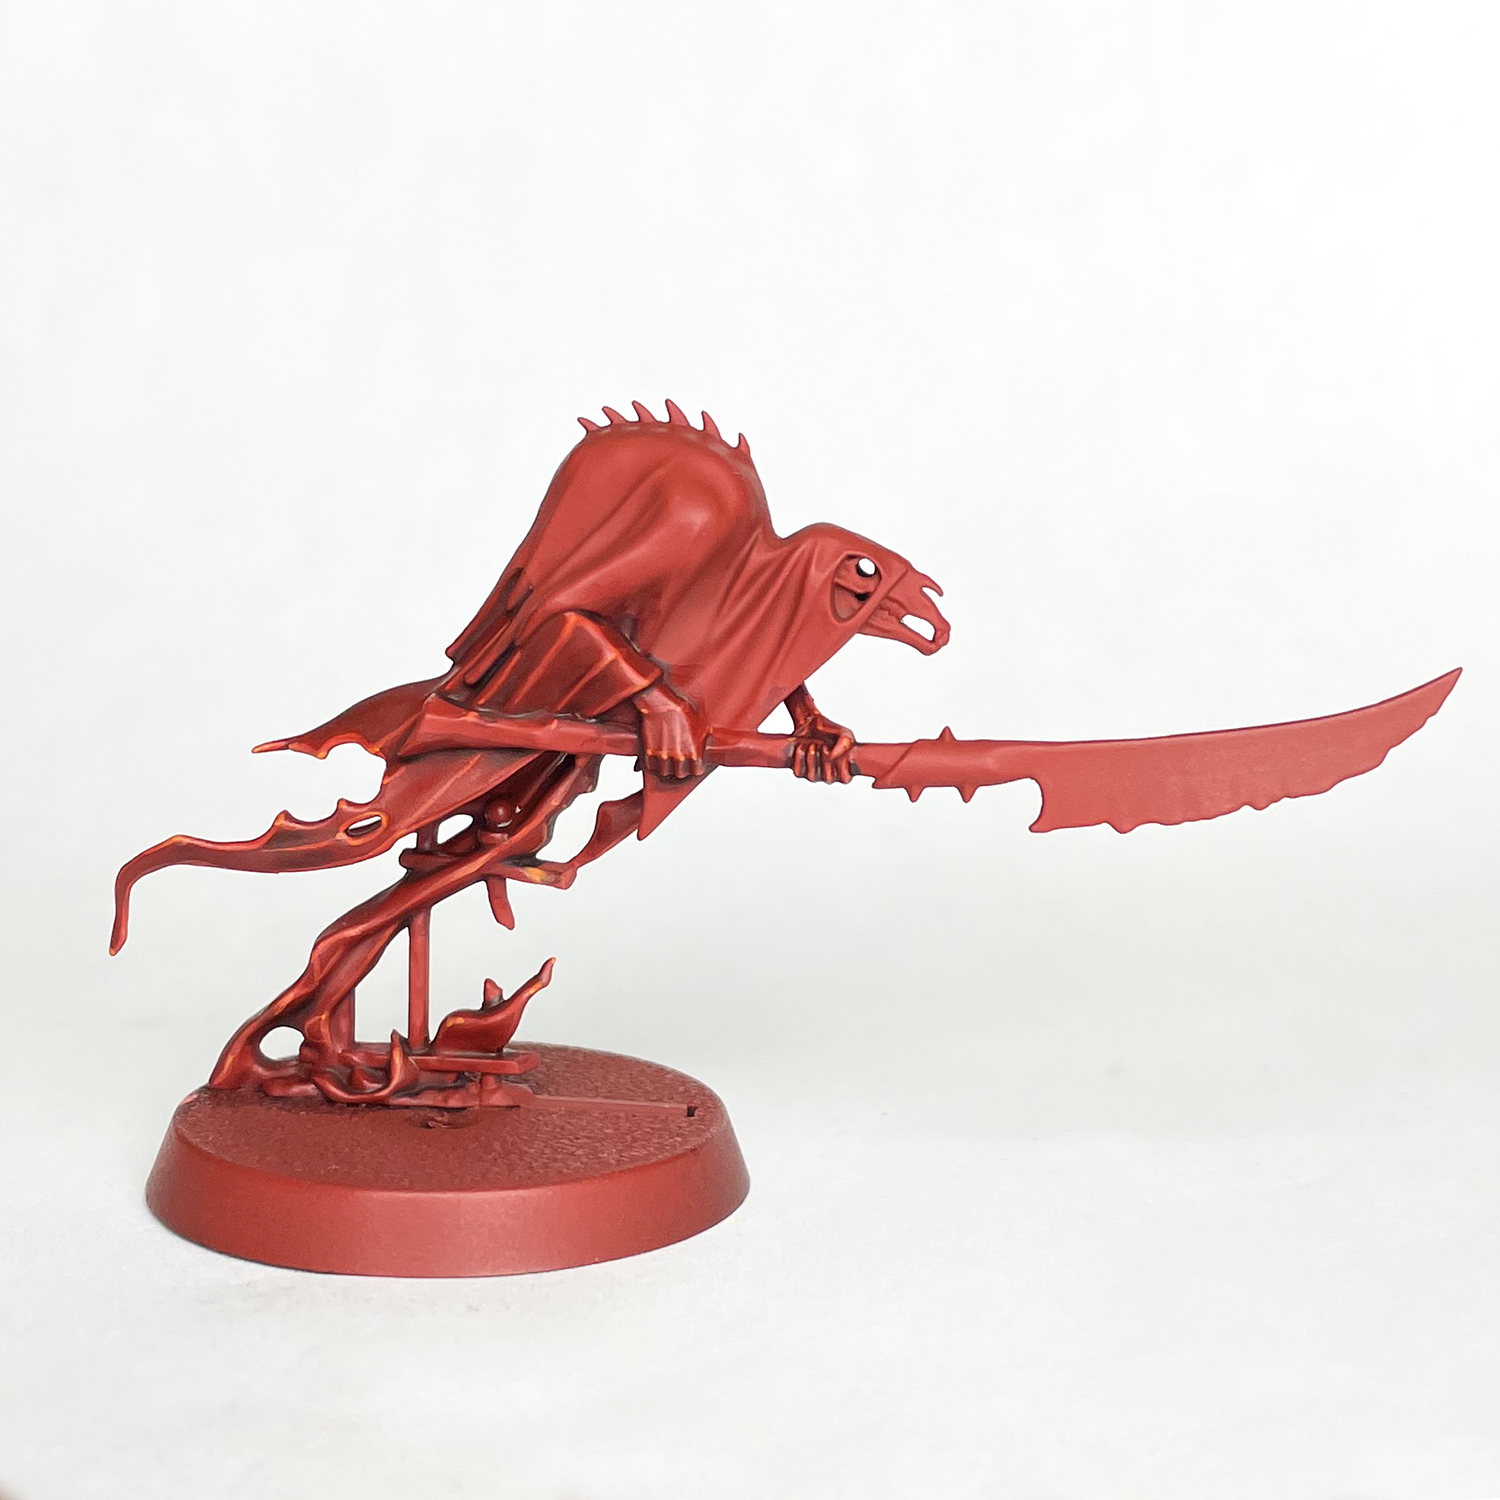
This is where we're going to add the final gory details. All of the blood areas were given a solid coat of 'Ard Coat to make it nice and shiny. Once this was dry I went in with some Blood for the Blood God and slopped on a bunch around where the ghost meets the base. I also had this go up the bottom of the ghost a bit, and added some to the trailing parts to make them a bit darker. This was also added onto the weapon around his hands, and a bit on his hands. Finally, I added just a tiny bit to the skull as little spatters of blood coming out from beneath his hood.

Until next time,
Tyler M.
You can look by way of the different user-published makes to seek out|to search out} the best print settings for a file, or to get some inspiration. Having a 3D scanner will take your 3D printing expertise to the subsequent degree, as it allows you to create accurate 3D models from precise real objects. You can print and promote physical copies Direct CNC of my models in your private store as long as|so long as} you assist my Patreon at the merchant tier degree.
ReplyDelete