
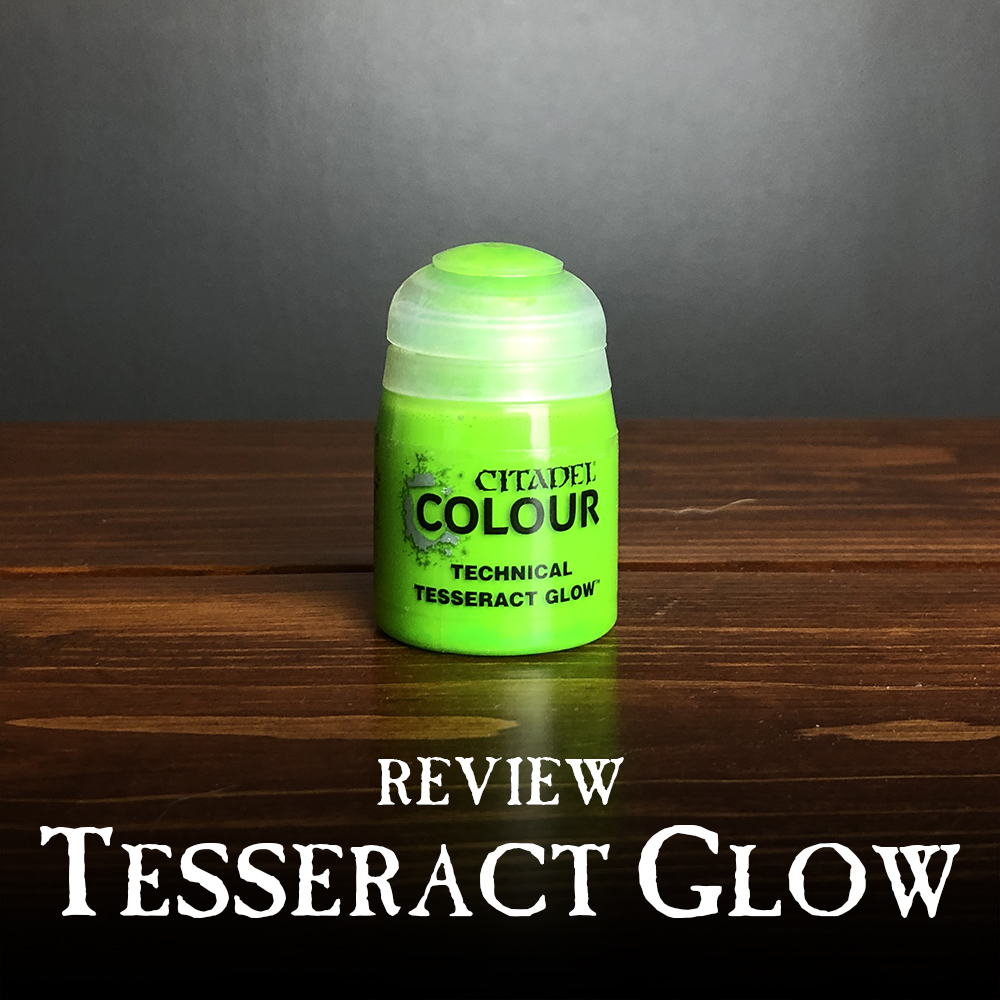
New paint releases from GW are one of the most exciting things to me. I love trying out new colors and techniques. Tesseract Glow is right up my alley, following in the legacy of Nihilakh Oxide as a technical paint that is great for glowing techniques. So, how does it measure up?
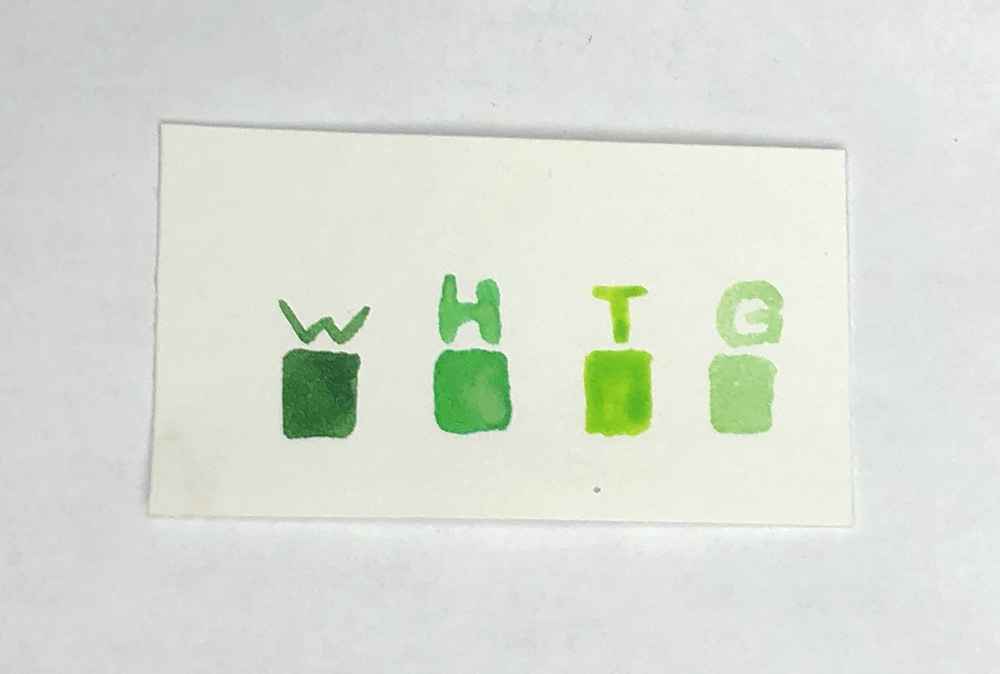
First things first, Tesseract Glow comes in the mid-sized paint pot, the one that Contrast Paint comes in. I kind of wish this was packaged in the larger pot that Shades come in, but it's not a huge deal. I took a piece of white paper and applied a little bit of the color to it, as well as some paint splotches of its closest competitors within the Citadel range. From left to right we have Warp Lightning, Hexwraith Flame, Tesseract Glow, and the old, discontinued Waywatcher Green glaze paint. As you can see, it definitely has a much stronger yellow tint to it compared to the others.
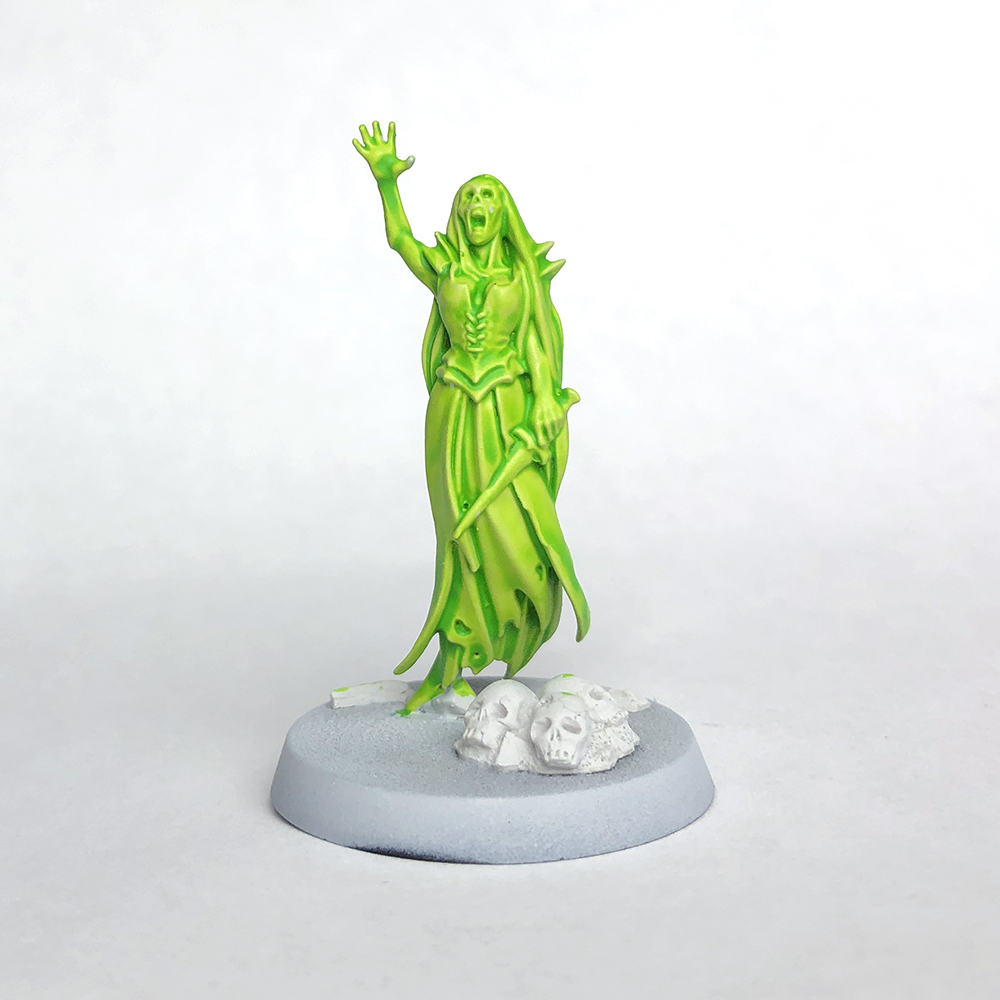
The best way to test a new paint though is to apply it to a model. I happened to have a spare Banshee from the Mortis Engine that I had stuck to a base for my Nighthaunts that I had never gotten around to painting. She was already primed with Corax White so she was ready to go. I considered thinning the Tesseract Glow down with Lahmian Medium, which is what I usually do with paints like this so I can have more control, but for a test like this I figured it would be best just to do it straight out of the pot.
This is just one solid coat of the paint. As you can see, it does the job. She's stained a nice neon green, with a darker color in the recesses. I feel like this applies in pretty much the same way as Hexwraith Flame and Nighthaunt Gloom. On the larger, flatter surfaces, like the top of her head and the side of her dress I got some pooling. This was to be expected, especially with the paint not being thinned down at all. I think if you used this for its most intended purpose, the glowing part of Necron weapons, you can definitely get away with just doing this over white and being done with it.
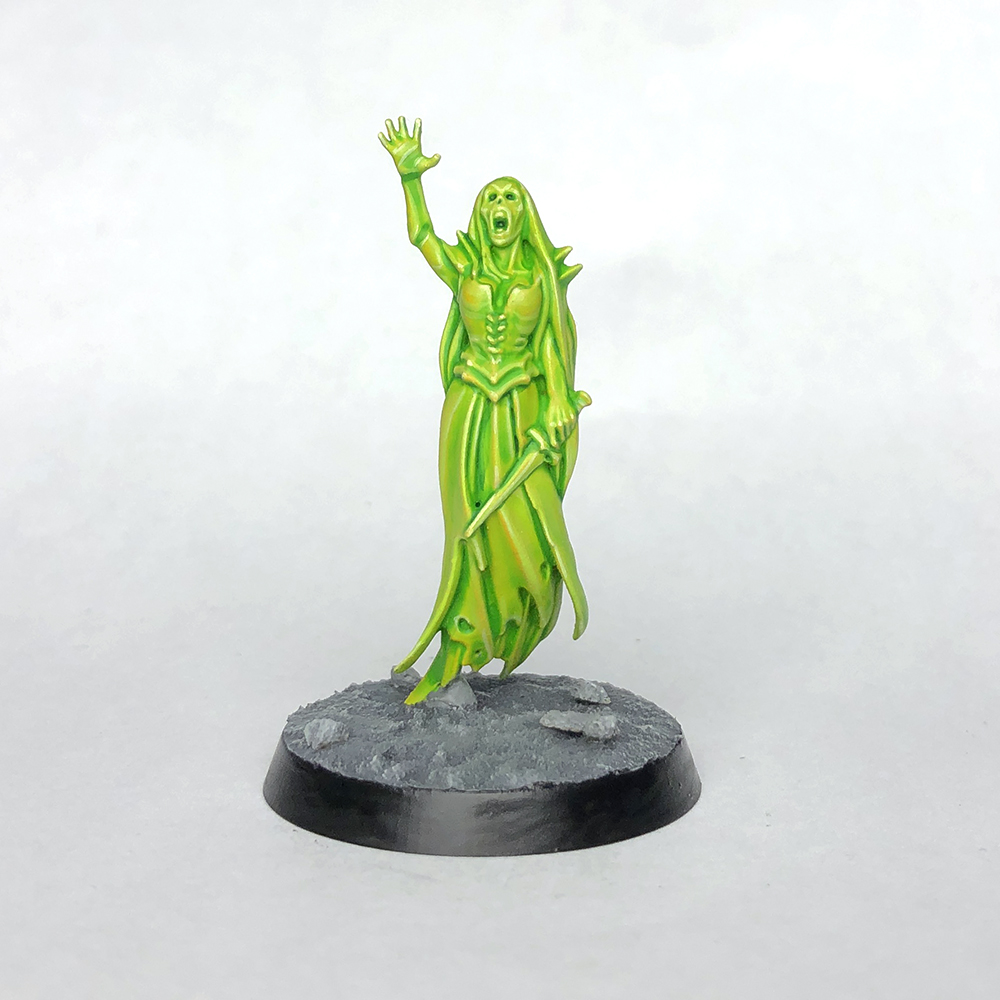
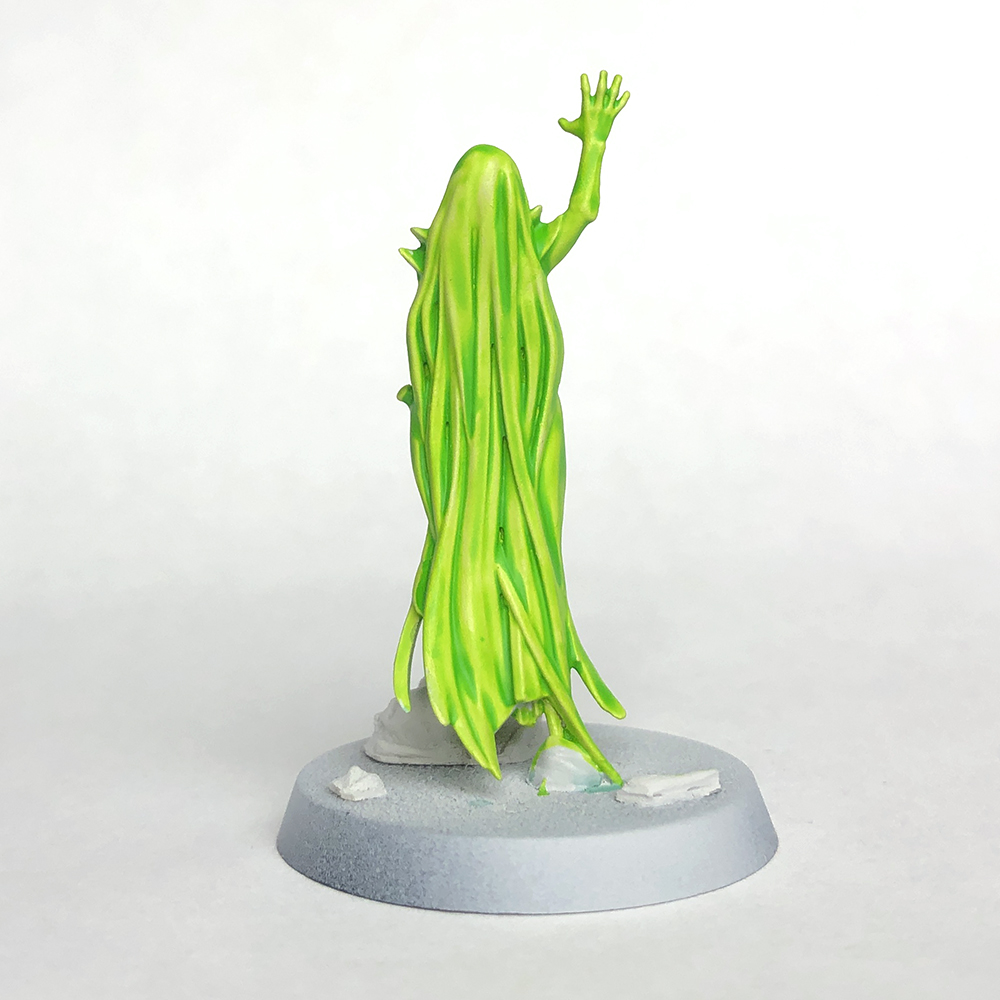
I wanted to see what I could do to this model with minimal effort to get a more finished appearance. I was a bit limited by what paints I had available. I don't own any Moot Green, which would obviously be a great match for this model. I did have Yriel Yellow though. Through a bit of drybrushing, glazing, lining, and some quick highlights I had a model I was pretty happy with! I think this would be a great look for a Transcendent C'tan or an army of glowing green Nighthaunts like the Banshee above. I know that may sound like a lot of layers and such, but it's not a whole ton and goes quickly too. I'd say she took me about 30 minutes excluding the time it took the washes and glazes to dry. Want to know how to achieve this look, well here you go!

Without the primer layer it's only six steps, and it's only once you get to the Warp Lightning step that you need to start being more careful with your application at all. I affectionately call this the "Slimer" Nighthaunt look. If I had spent more time on her I probably would have introduced some more colors, like a black bodice, a metallic weapon, and probably some kind of fade on her hair, but this monochrome look works for Nighthaunt too!

So what are my final thoughts on Tesseract Glow? I think it does its job wonderfully! If you're after this neon green glow effect you'll want to pick this up. I'm already thinking of some effects I can do with it on Plague Marines for poisonous slime or fog. It definitely works best on smaller, or more texture surfaces. On larger, flatter surfaces you'll get some odd pooling and will have to correct it, but this is true of every paint like this, including Hexwraith and Nihilakh Oxide, unless you thin it with Medium.
Until next time,
Tyler M.
No comments:
Post a Comment