
Army painting can take a lot of time. It's something we all know. This is especially evident when you're trying to paint it all in one go with a deadline as opposed to gradually over time. So how do you make this more manageable and speed it up a bit?
When I sit down to paint a model I'm typically going for high end table top quality. This means, more or less, a shade and probably at least two highlights. Maybe some blending here and there. I know this isn't what everyone goes for when working on an army, but it will give you an idea of my base level when I start talking about shortcuts. When you're working on a larger army you'll generally need to find some shortcuts if you want to finish it in a reasonable amount of time. So what can you do to cut down on time while keeping the overall appearance of the army to a level you're happy with?
1. Out of Sight, Out of Mind

If there is an area that is mostly hidden on a model you probably don't need to be overly worried about painting it to the same level as the rest of the model. I usually paint in sub-assemblies for stuff like shields on AoS models or guns on 40k models so I can get to the area behind it. Even though I'm making sure I paint these areas, if I know parts of it will be barely visible I may cut out some steps. If a color is getting a basecoat, shade, and two highlights I may cut out one of the highlights. If it's really hidden I'll probably just do the basecoat and shade and call it good. Basically, just highlight till you reach the area that's hidden. If you're doing sub-assemblies, test fit the piece on while you're painting to see what you can get away with. If it's an area on an assembled model you'll have a better idea and probably will have a hard time fitting your brush in there anyway. On my Nighthaunt army most of the "interiors" on them, which you can't see unless you pick the model up and turn it over to really look at it, are just given a shade over the white and left at that.
2. Focal Points

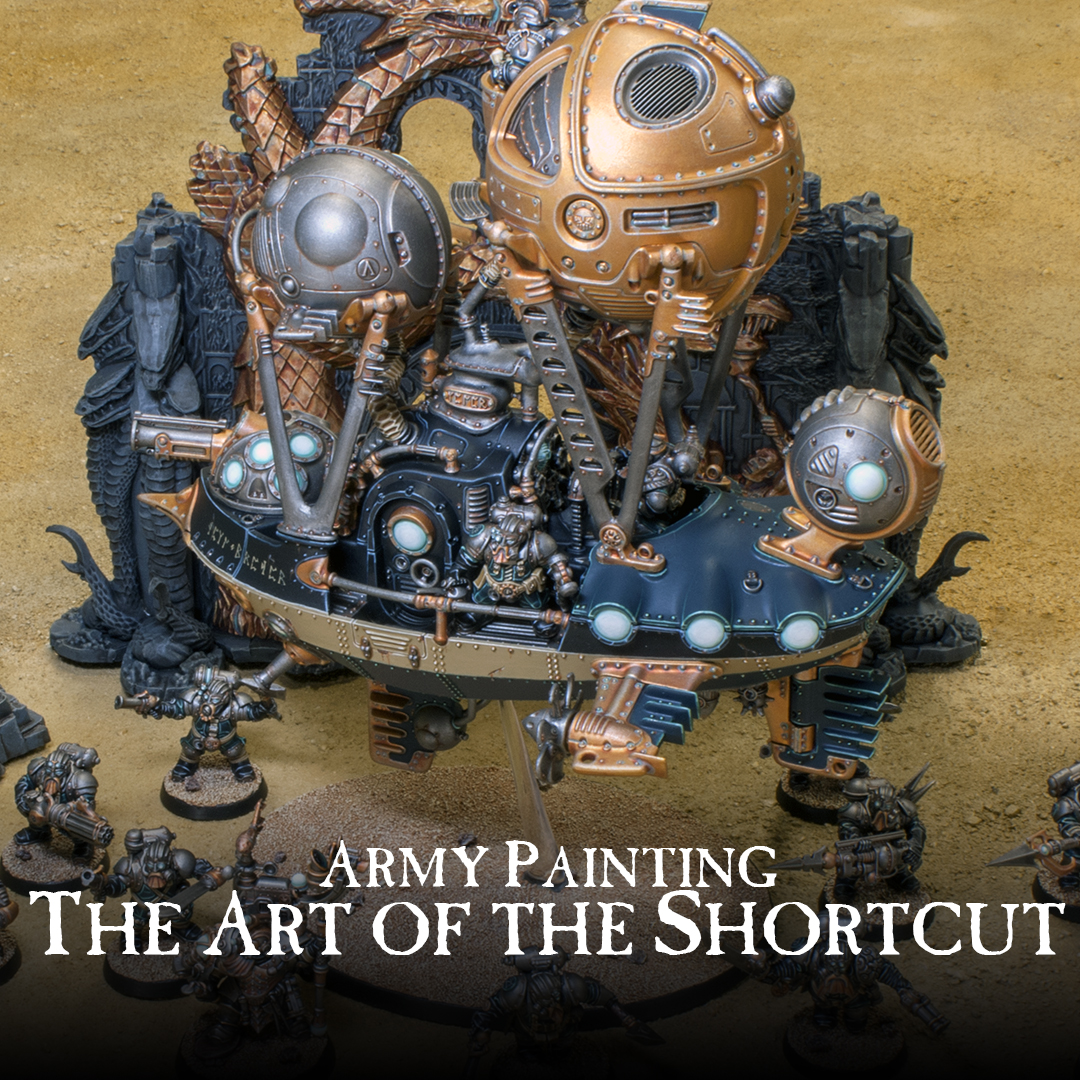
This is a trick I've learned over the years. I use to paint every part of every model up to the same standard, and let me tell you, it took me forever to finish anything. I would be lucky to finish an army once every 2 years. Something I started doing more frequently is creating visual focal points. This is most evident on my Kharadron Overlords and Nurgle demons. On the Kharadron I made it a point to incorporate drybrushing since it's something I normally don't do. On the Kharadron I just basecoated, shaded, then drybrushed all of the metallics at once. No edge highlights. Then when I got around to painting their cloth, I made sure to do several layers of highlights and make them as crisp as I can. This creates a focal point, and overall when you look at the models they appear to be completely finished to that same level, when in reality the metallics are much rougher. When your eye is drawn to certain areas it will naturally overlook other areas and kind of blend it all together in your mind's perception of it.

The Nurgle demons have a similar effect, with the majority of their skin done with shades and drybrushing, and then finished off with a single crips highlight. When coupled with their weapons, horns, and other areas that are done in a cleaner layered style it creates the overall effect of being all finished to that same level.
3. Light to Dark

This method of painting is now best exemplified by the Contrast Paint range, but it's actually something I've been doing using Shades for a few years now. Instead of building up your color from dark to light, start off with a lighter color and stain it with your shade or Contrast paint to get the color you want. This knocks out your basecoat and shade in one go. My Daughters of Khaine and Nighthaunt are both effectively painted this way.

Even when I'm painting on the basecoat, like with the skin on my Blightking, I start with a color that's slightly lighter than what I want the finished look to be. That way, once I apply the shade, as long as it went on evenly, all I'll have to do is apply highlights instead of re-layering the whole area.
4. Little Things Add Up

A lot of us think of our painting time for a project as just a solid chunk of uninterrupted time, but often that's not achievable with a busy life. What you can do though is take 5 minutes here, 10 minutes there, and then eventually that all adds up. I'll often spend a few minutes painting before work if I have the time. I won't get a whole lot done, but maybe I finished a basecoat on two models. Now that's two less models I'll have to basecoat later on. Chipping away at a project like this is a good way of speeding things up.
Those are my four biggest tips for cutting some of the time and effort out of your armies, while still keeping the overall look up. I would also recommend pacing yourself at a level you're comfortable with. Even if a unit is 20 or 40 guys, it's perfectly fine to do them in chunks of 10 or 5 or whatever. I was recently painting something in a group of 20 and the monotony of it got to be too much and I had to break them down into two groups of 10. This way it gave me a little reward by actually seeing the models finished instead of just painting the same color across 20 models for a week.
What are some things you do to create shortcuts for yourself?
Until next time,
Tyler M.
No comments:
Post a Comment